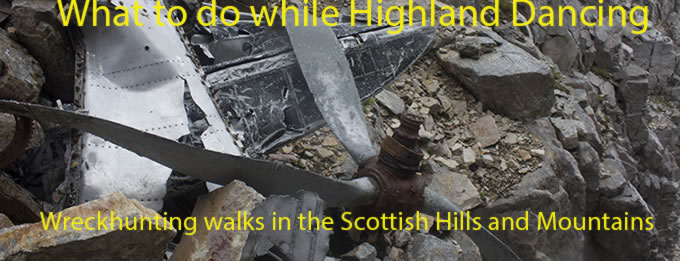
The Cow Car wash.
Short Stirling EE975 on Old
Cote Moor.
(Distance covered = 2.09 mile /Ascent = 193m)
De Havilland Mosquito RL197,
Handley Page Halifax DT578 and
Boeing B-17 Flying Fortress 44-8683
on Great Whernside and
Vickers Wellington DV718 on
Riggs Moor
(Distance covered =8.0 mile/Ascent =+523m)
Another Covid-19 enforced trip to the Yorkshire Dales, not my usual stomping ground but somewhere where I'd enjoyed some fantastic walking over the past weeks while Scotland had been closed.
Sometimes when I go off on a wreckhunting walk I will take a map for another shorter 'bonus' walk if there's a suitable candidate in the vicinity or on the way home; just in case there is enough daylight left after doing my main walk. This bonus walk had never come to fruition until the previous weekend when on a gloriously sunny day I'd done a 10 mile walk to vist 3 crashsites then drove a couple of miles down the road to do another 4.5mile walk to the crashsite of a Vickers Wellington*.
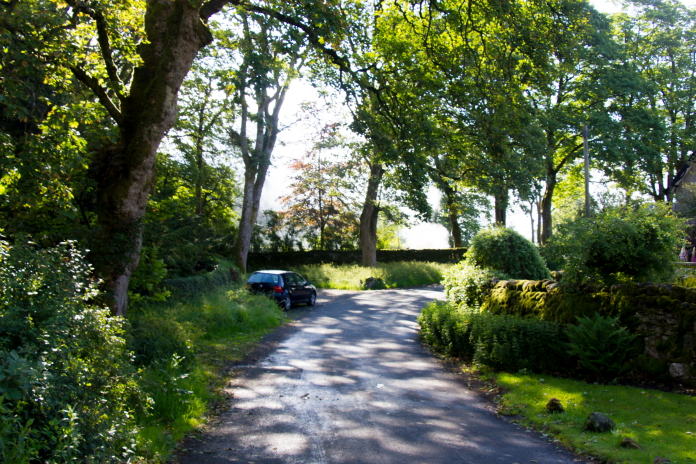
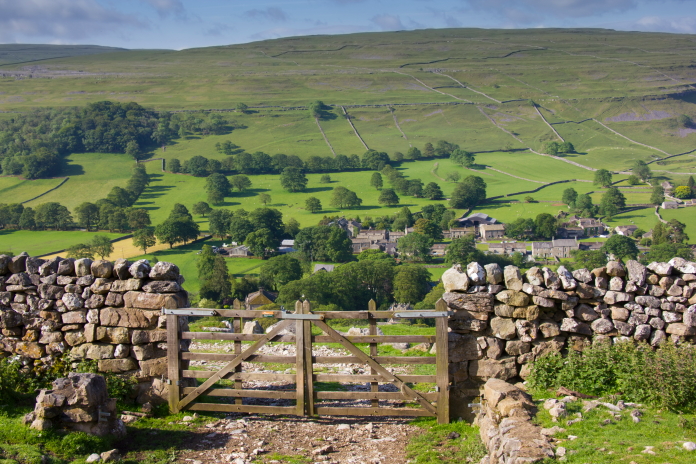
Parked in Arncliffe at 6am on a lovely sunny morning.
My 'bonus, if I have time' walk on this day was to be a very short 2 miler to visit the remains of a Short Stirling on the moor above a small village called Arncliffe. Because there appeared to be very limited parking I decided to do the bonus walk first as I figured there'd be a lot less tourists around at 6am in the morning than there would be at 4 or 5 in the afternoon.
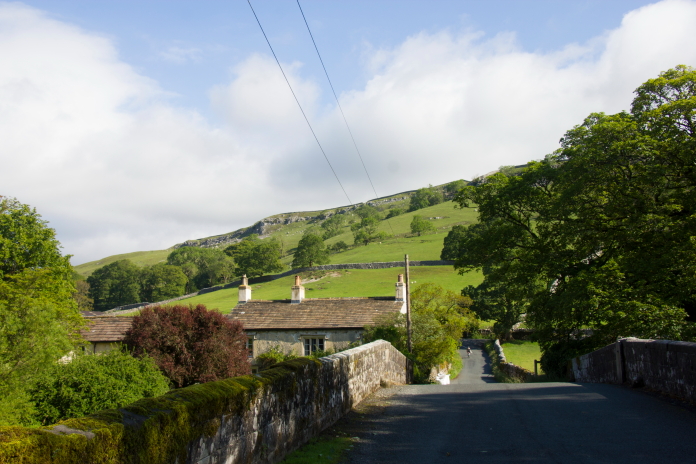
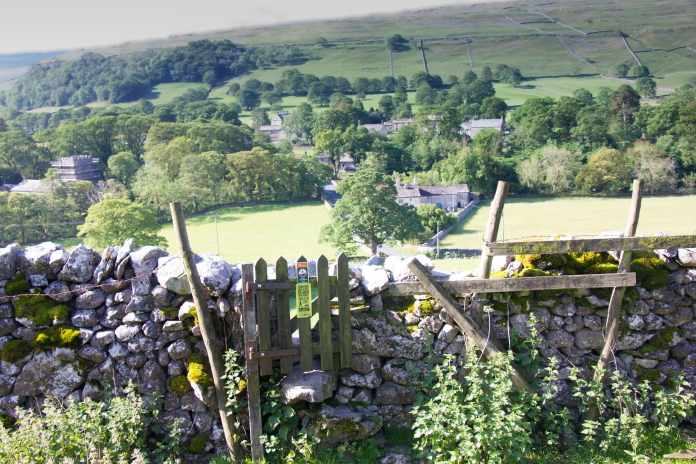
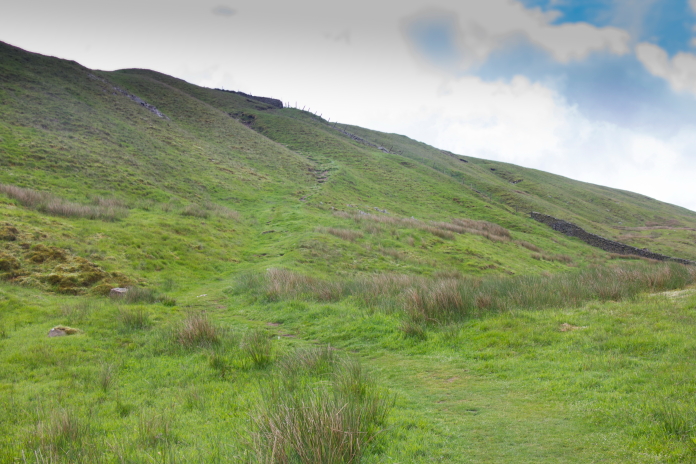
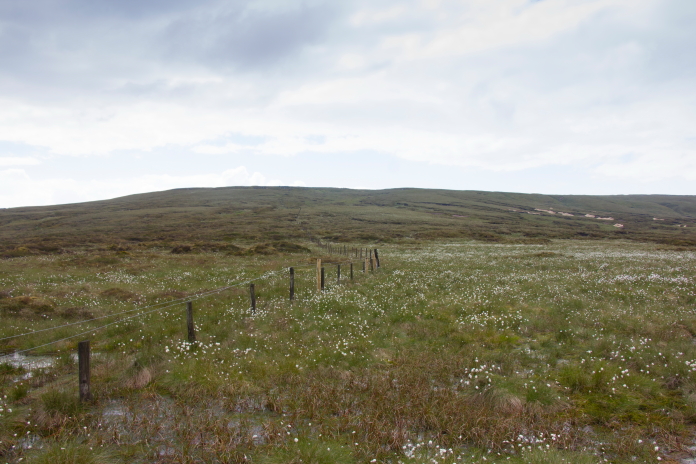
above and next 6 photos:-Through Arncliffe
and up onto the moor.
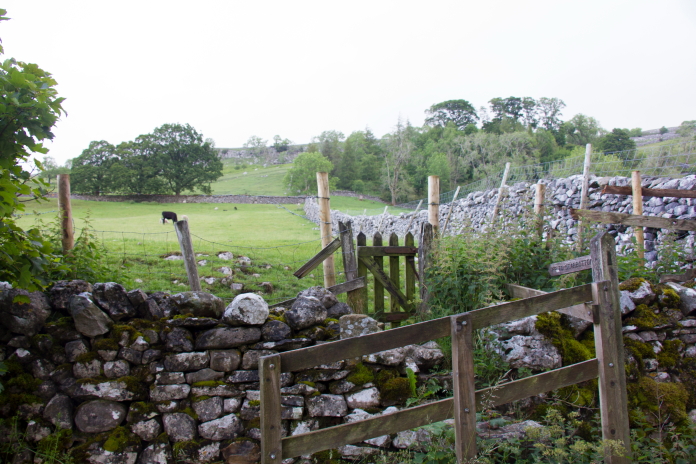

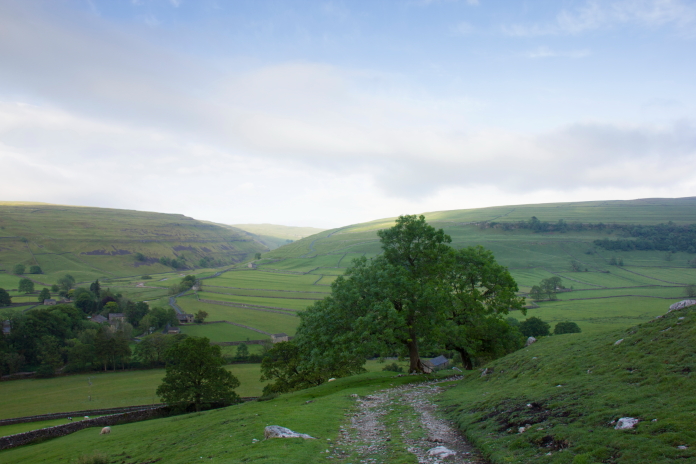
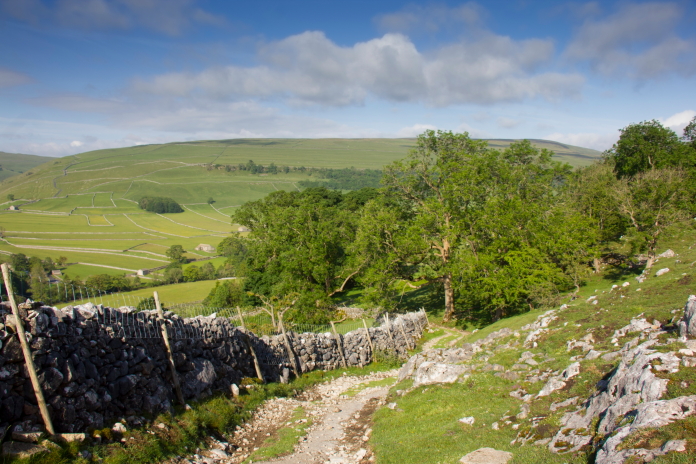
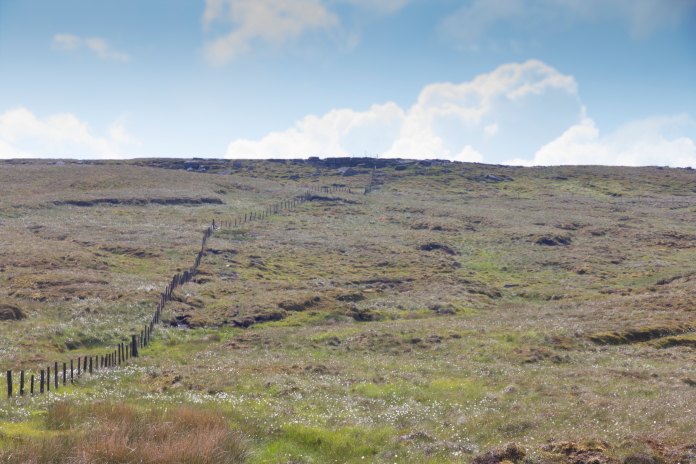
The first half a mile of this walk was very steep but once I reached the contour line I needed to be at it was a very easy and pleasant walk along a nice flat terrace to reach the Stirling crashsite. The only difficulty I encountered was a drystone wall which are quite tricky to climb over without dislodging any of the stones. In this instance a short diversion uphill to where a limestone outcrop had been incorporated into the wall made the task much easier.

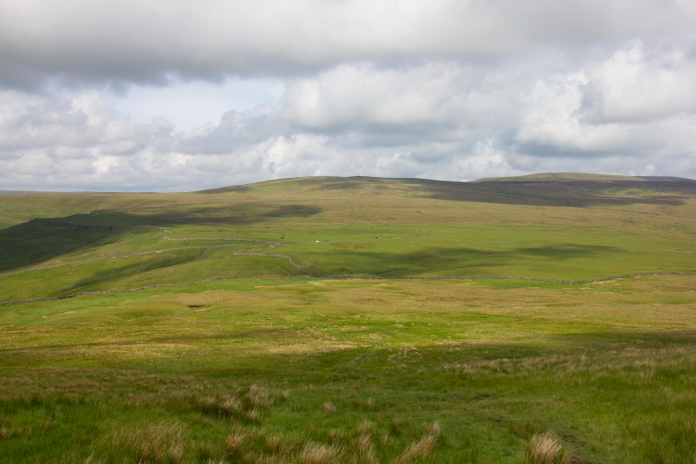
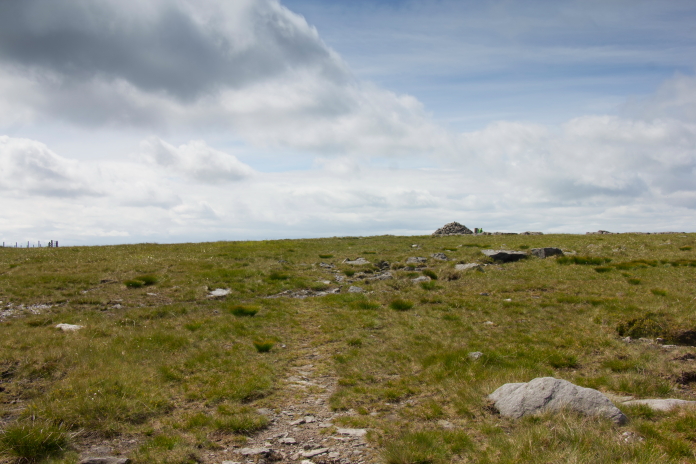
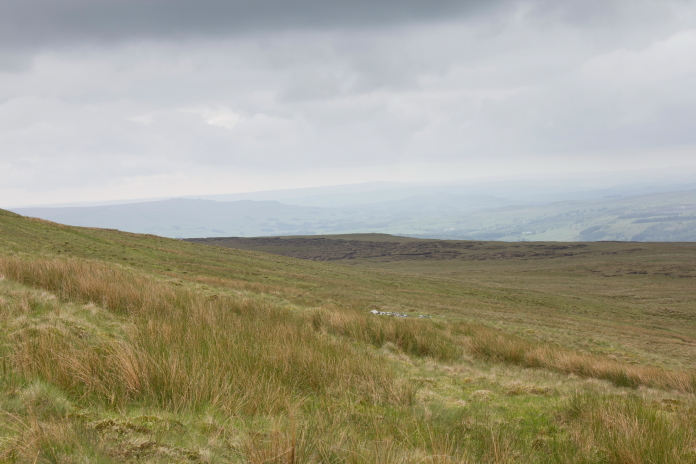
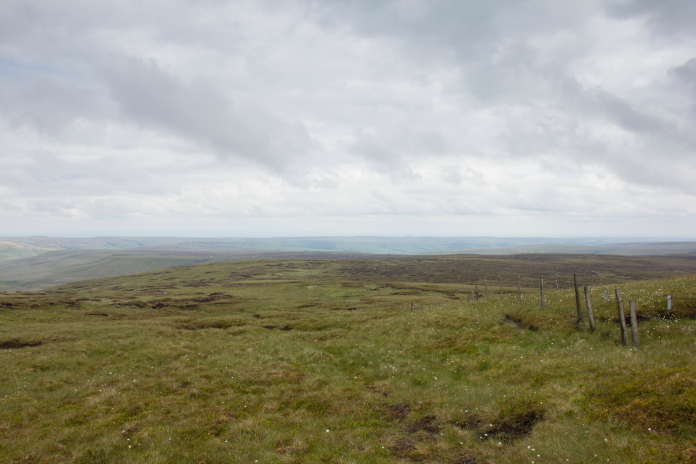
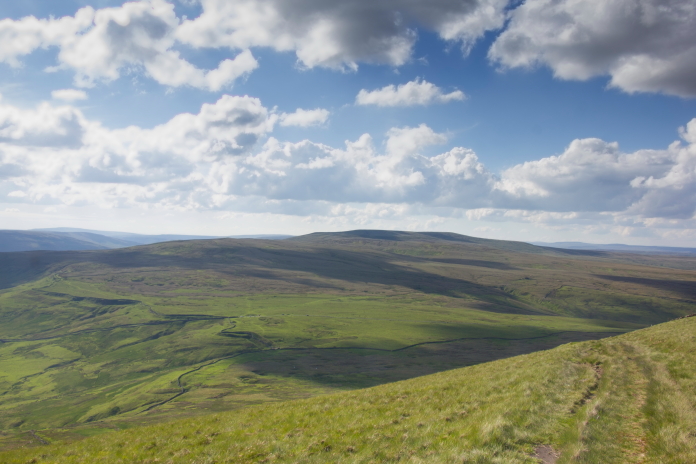
Walking along the terrace towards the Stirling remains.
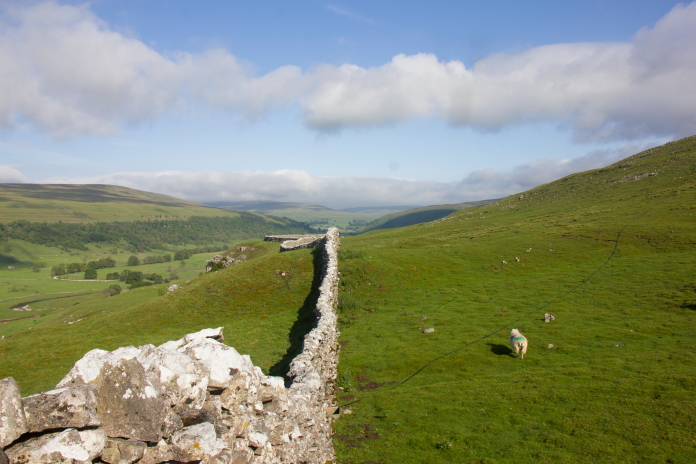
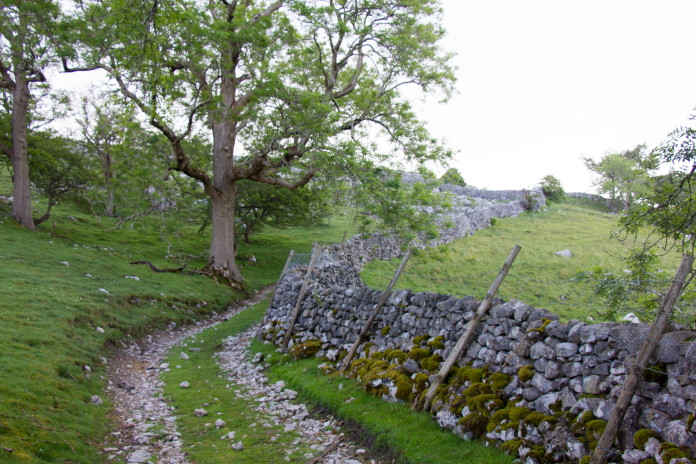
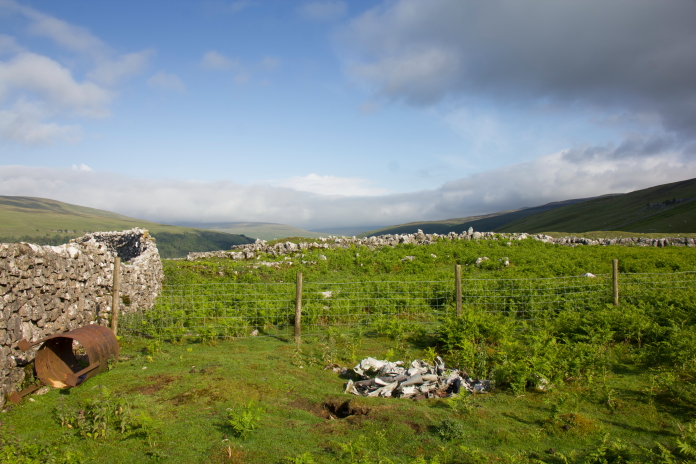
above and below:-Drystone wall above Arncliffe. Although this is not the one I had to negotiate it is the one the Stirling crashed through about 500 metres further along.
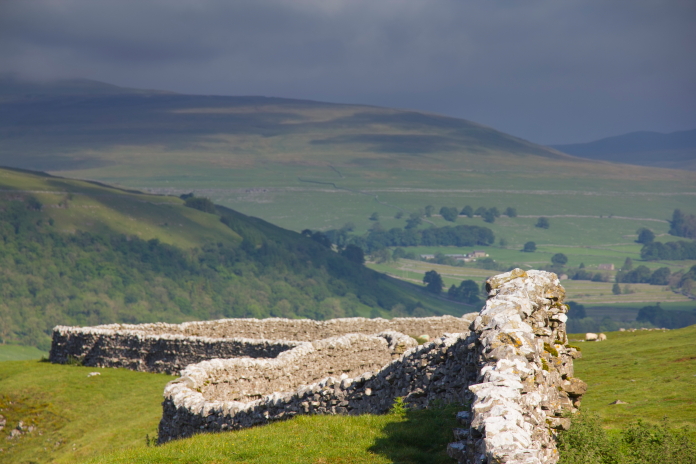
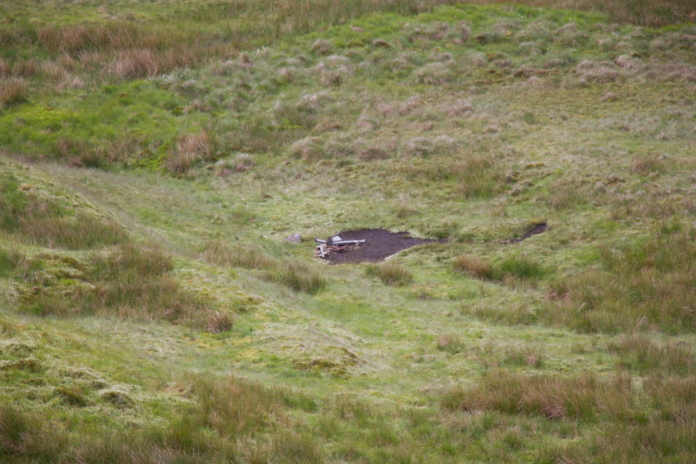
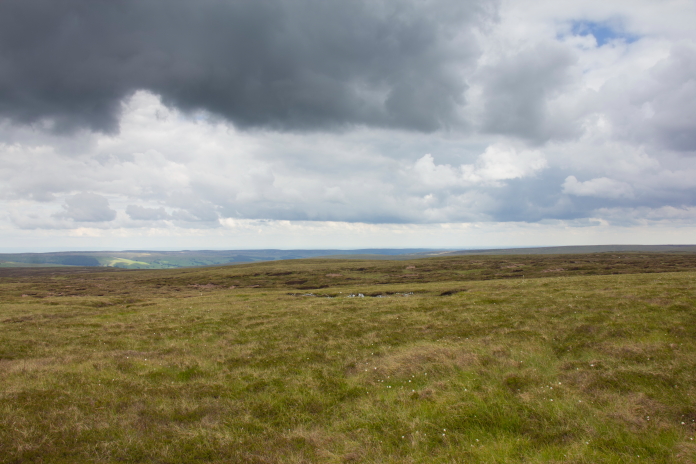
above and below:-The area where EE975 collided with the moor, the wall it crashed through is over to the left.
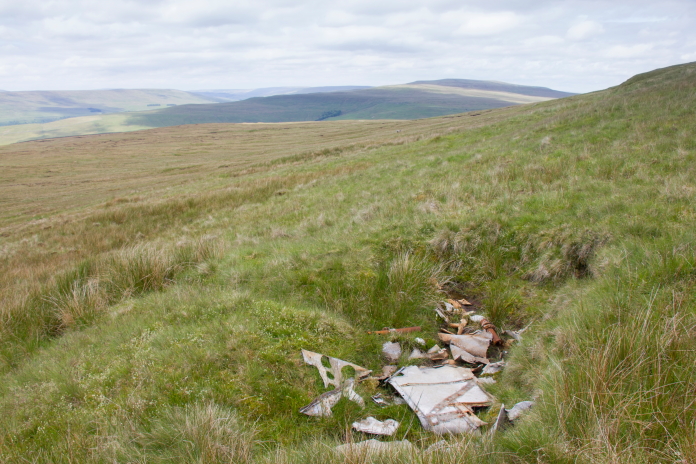
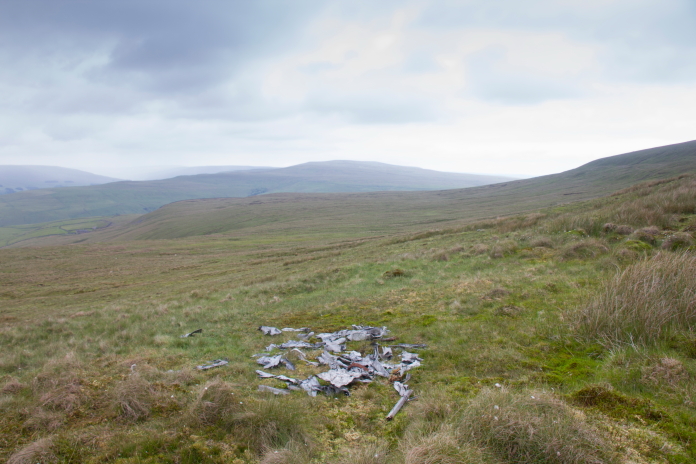
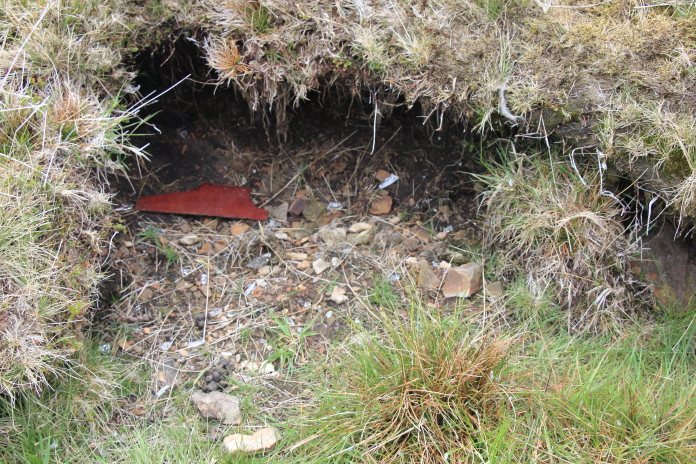
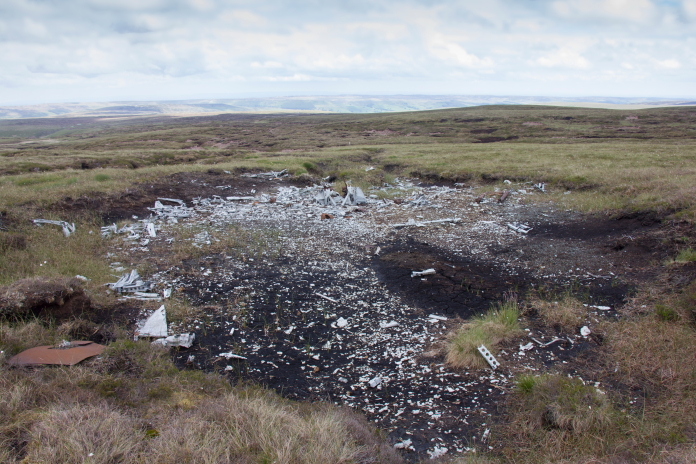
above and next 2 photos:-2 Collections of wreckage on Old Cotes Moor.

More crashsite photos
While having a mooch around looking for bits of Stirling I heard a loud crack on the moors above where I was, it was followed by several others. Someone was up there shooting with what sounded like a high powered rifle. Remembering the opening scene of the film 'Saving Private Ryan' I then convinced myself that I heard the "zzzzzip" sound of a bullet passing over my head so, as I could also now see the 'Sniper' walking down the hill towards me I decided I would make a strategic withdrawl and headed off back to the car.
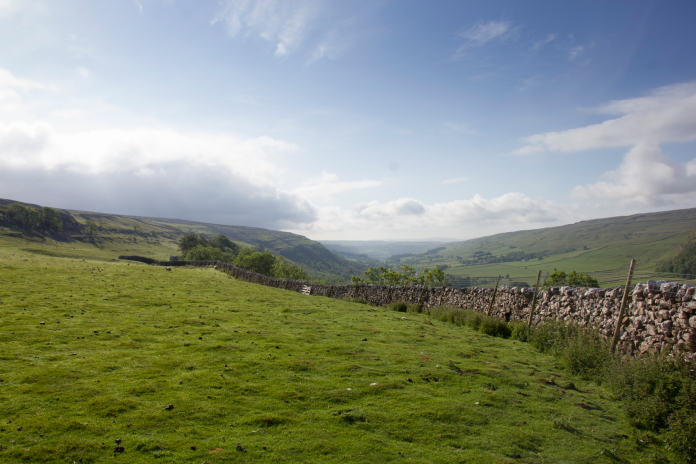
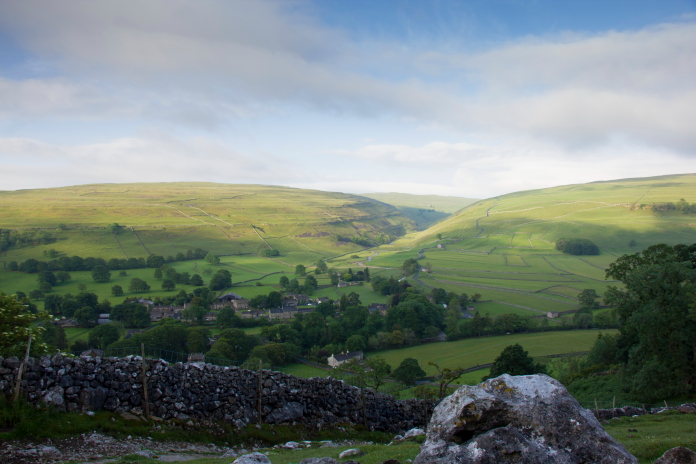
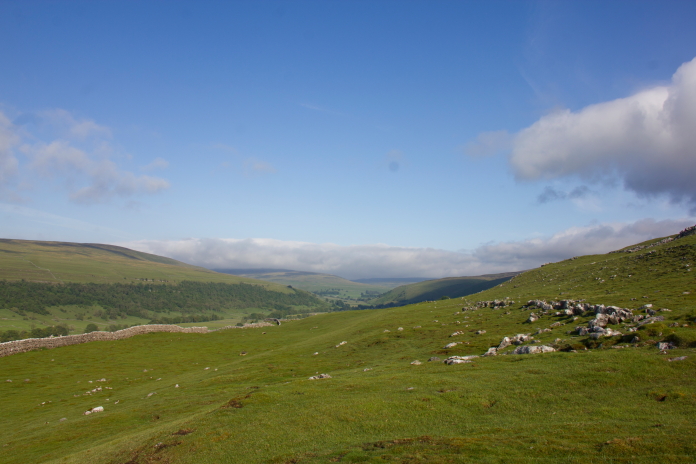
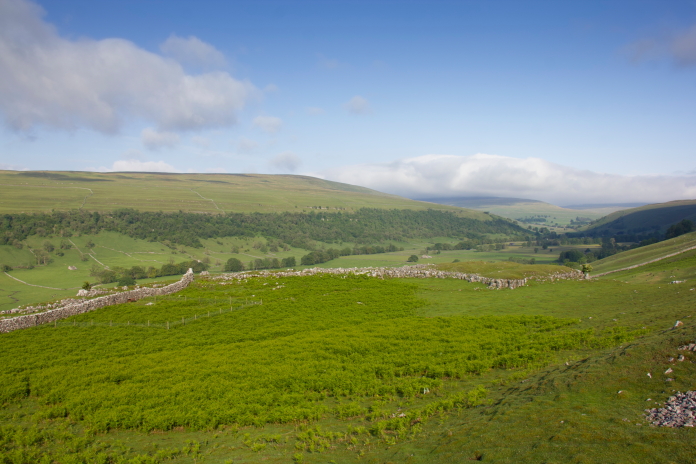
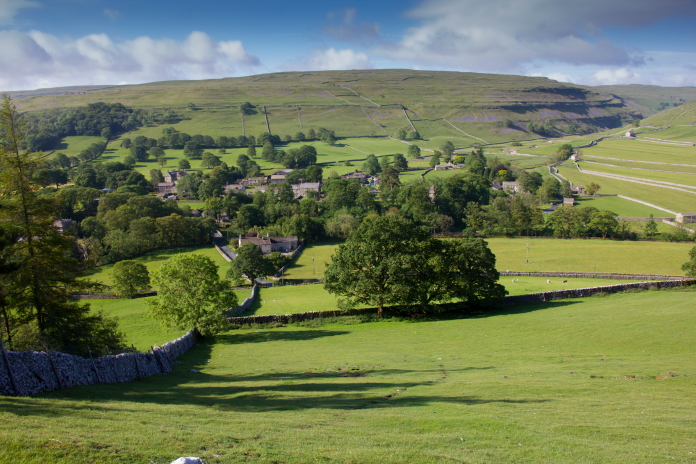
Lovely views back down Wharfedale.
above and below:-View down to Emmerdale; sorry Arncliffe!.

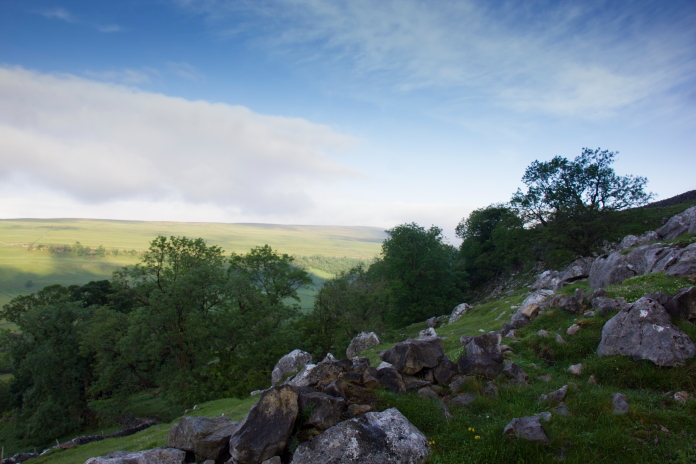
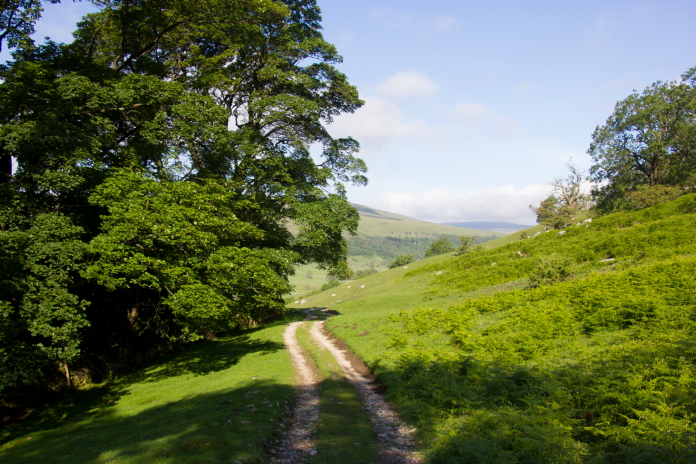
above and below:-Lovely peacefull walk back down the lane to Arncliffe, especially as I was no longer under fire!
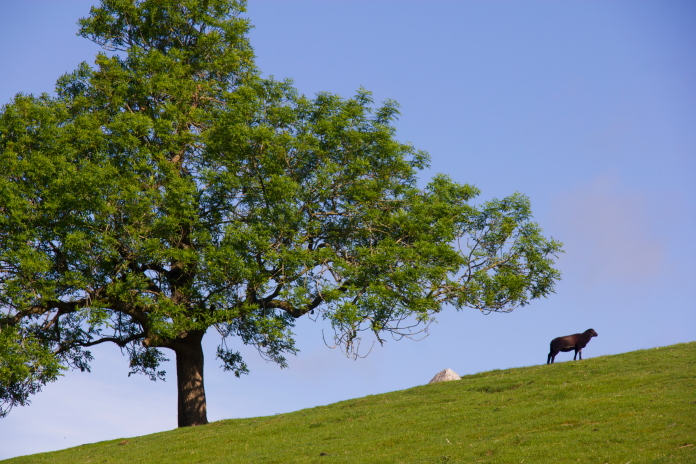
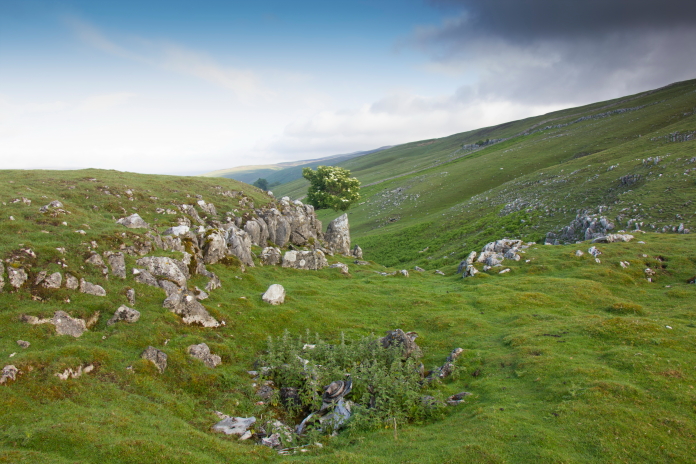
A random photo of a tree, a rock and a sheep.
above and below:-Almost back to the car.
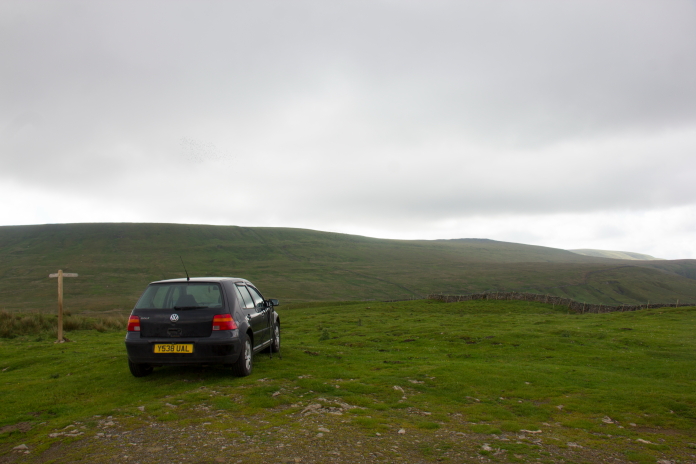 Parked at the cattle grid above Kettlewell.
Once I'd parked above Kettlewell I had to wait before I could set off
walking as a herd of young cows surrounded the car and began licking
the doors as well as trying to bite the wing mirrors and tyres,
one was also practicing it's headbutting technique on the back bumper.
It was about 10 minutes before I could make my escape when another car
parked on the other side of the road and they went over to harass that
one instead.
Parked at the cattle grid above Kettlewell.
Once I'd parked above Kettlewell I had to wait before I could set off
walking as a herd of young cows surrounded the car and began licking
the doors as well as trying to bite the wing mirrors and tyres,
one was also practicing it's headbutting technique on the back bumper.
It was about 10 minutes before I could make my escape when another car
parked on the other side of the road and they went over to harass that
one instead.
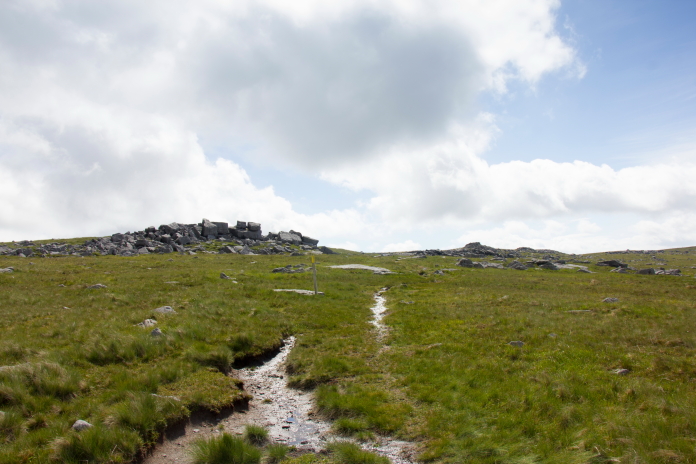
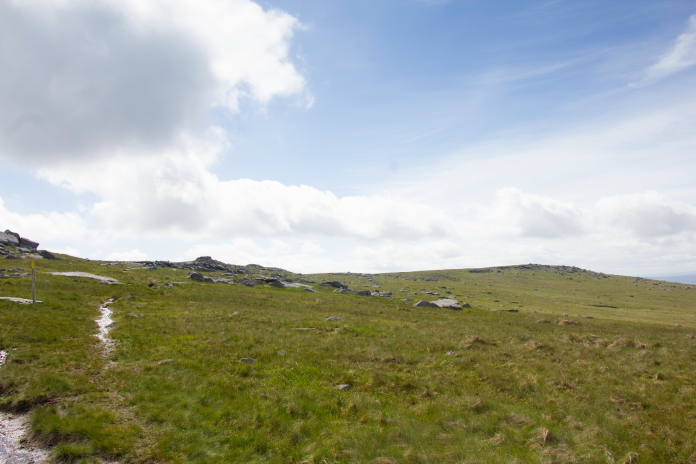
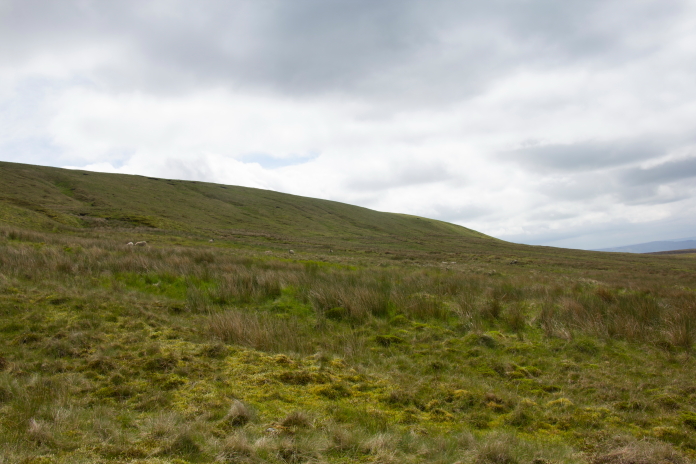
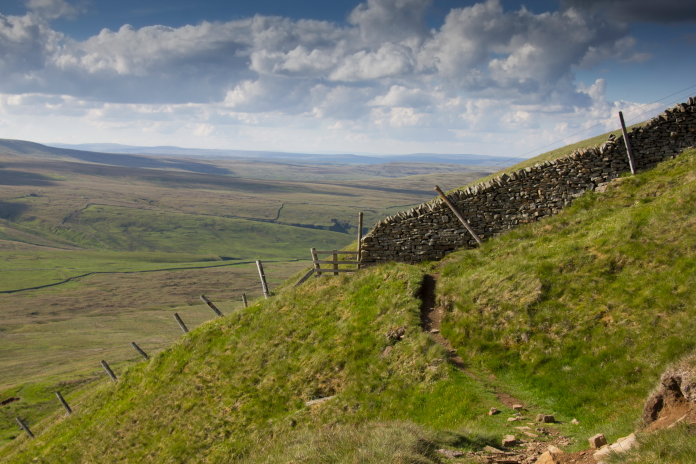
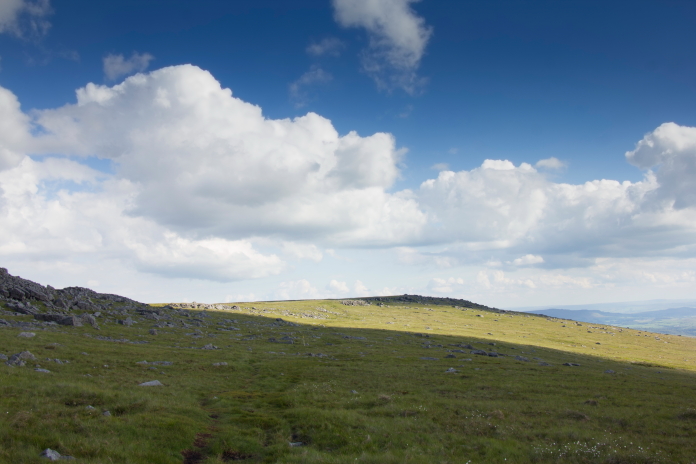
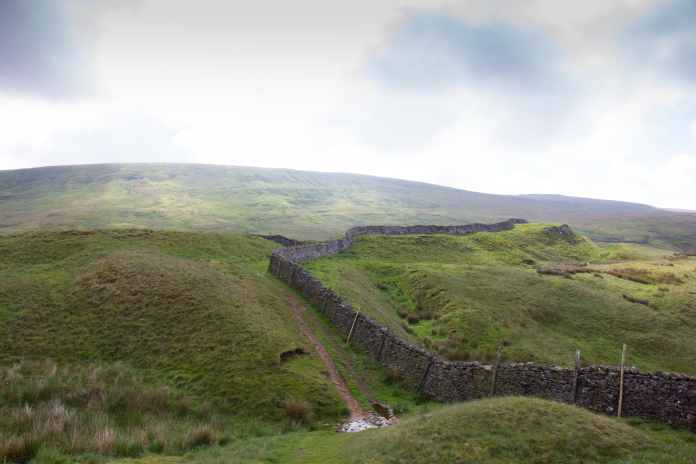 above and below:-Nice approach path to
Great Whernside.
above and below:-Nice approach path to
Great Whernside.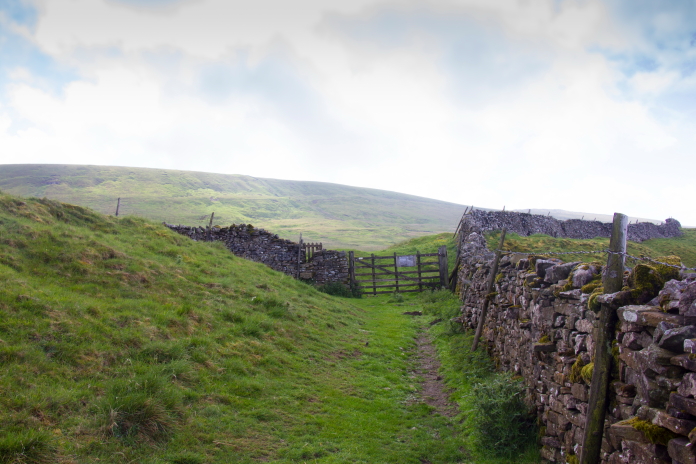
Looking back over to the other side of the valley and Buckden Pike. There is a Wellington crashsite on there and I did contemplate a bonus bonus walk up to that one "If I was back in time!" When I set off walking towards Great Whernside the weather looked if it was going to take a turn for the worst but by the time I arrive at the base of the steep climb up to Black Dike Hole it had decided it was going to stay sunny. It was therefore a very warm slog up the Black Dike but once past the little stile at the top the incline eased off and it was a delightfull little stroll along the ridge to the trig point on the summit.
Black Dike, by far the hardest work of the day.
 Above
and next two photos:- Walking along the top to the summit of Great
Whernside.
Above
and next two photos:- Walking along the top to the summit of Great
Whernside.
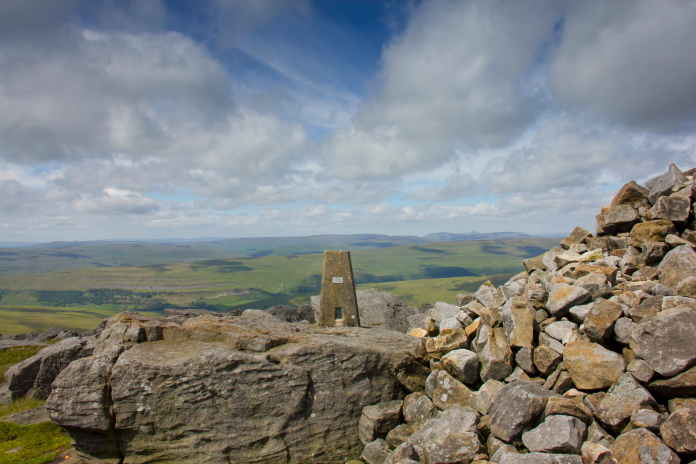
Trig point on Great Whernside.
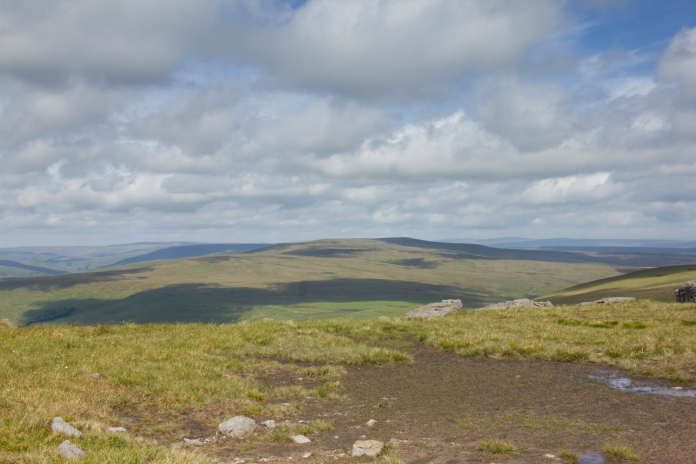
Another view back over to Buckden Pike. The summit of Great Whernside was quite busy but that didn't matter as I had no intention of dwelling there for very long and dropped straight off the other side in search of the remains of DH Mosquito RL197, which turned out to be very easy to find; perhaps not so easy on a day with slightly less visibility than what I enjoyed.
 Back downhill towards Mosquito wreckage.
Easy to spot from above on such a nice day.
Pit full of Mosquito wreckage a little further down the hill. More wreckage photos. There were three crashes on the western slope of Great Whernside and they are very close together so after taking some photographs at the Moquito site it was a matter of minutes before I was taking some photos of the remains of HP Halifax DT578.
Looking over to the Halifax crashsite from the Mosquito.
Some pieces of Halifax DT578. More wreckage photos. It was an even shorter distance from the Halifax site to reach wreckage from an American B17, this one however necessitated a bit searching up the hill where I found a few more scraps and a small scar which may possibly be where it first hit the hillside.
Approaching the B17 crashsite.
 Scant remains of B17
44-833 on Great Whernside.
Scant remains of B17
44-833 on Great Whernside.
 A small scar containing some fragments of B17, about 100 metres or so uphil from the rest of the wreckage.
More crashsite photos.
One advantage of searching up the hillside for more bits of B17 was
that I found myself back on the top of the hill but then I went
downhill again as after finding bits of B17 uphill I wanted to check
if there was any bits of Halifax above the wreckage I'd already
visited; I didn't find anything.
A small scar containing some fragments of B17, about 100 metres or so uphil from the rest of the wreckage.
More crashsite photos.
One advantage of searching up the hillside for more bits of B17 was
that I found myself back on the top of the hill but then I went
downhill again as after finding bits of B17 uphill I wanted to check
if there was any bits of Halifax above the wreckage I'd already
visited; I didn't find anything.
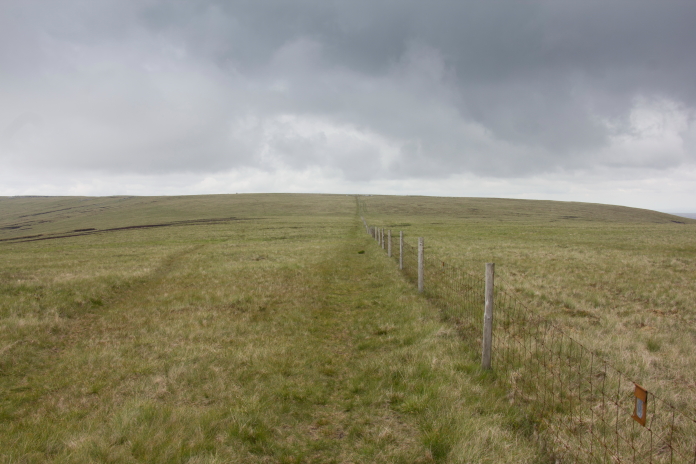
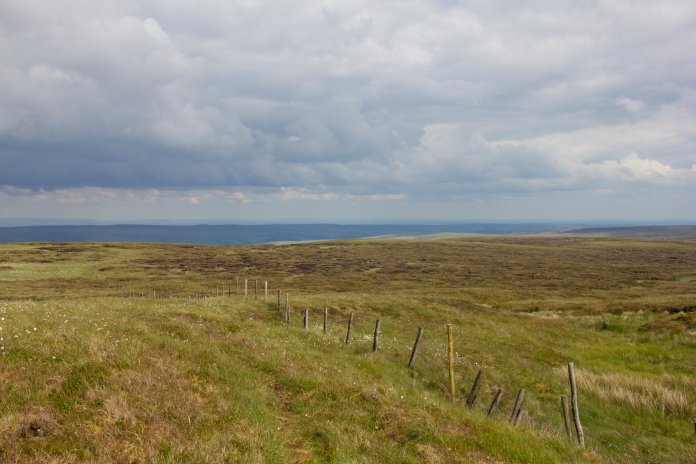
Back on the top of the hill again, this time heading off to Riggs Moor to look for a Wellington. It was a bit farther to walk from the B17 across to the final crashsite on my itinerary, 1.5mile to be exact. Navigating was made easy by being able to follow a fence to within 100m of the Wellington remains which again proved easy to find thanks to the nice weather and the extremely large scar caused when the bomber burnt out.
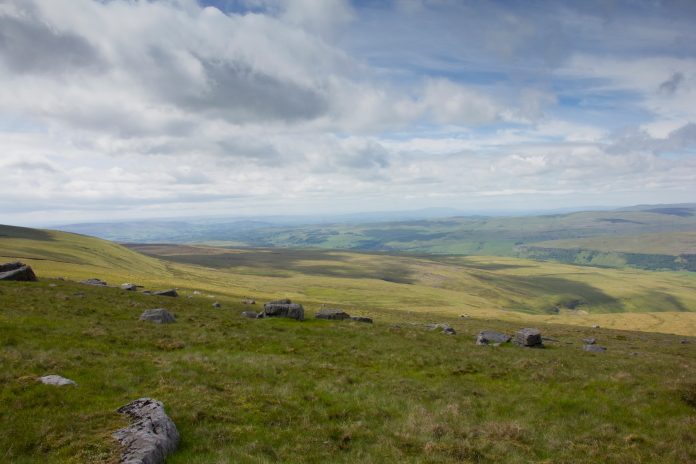
Riggs moor from the top of Great Whernside.
 above and below:-This large scar was full of melted alluminium,
testimony to the ferocious fire that must have ensued after the crash.
above and below:-This large scar was full of melted alluminium,
testimony to the ferocious fire that must have ensued after the crash.
 More wreckage photos.
Up until reaching Riggs Moor I had been wearing my Hiking trainers as
it was such a dry day, but the stretch between Stone Head Crag at the
southern end of Great Whernside summit and the Wellingon wreckage had
proven to be quite wet and boggy necessitating quite a few diversions
to keep my feet dry. I put my Hiking Boots on for the return so was
able to barrel straight thru the bogs, which made for much quicker
progress while still maintaining dry feet.
More wreckage photos.
Up until reaching Riggs Moor I had been wearing my Hiking trainers as
it was such a dry day, but the stretch between Stone Head Crag at the
southern end of Great Whernside summit and the Wellingon wreckage had
proven to be quite wet and boggy necessitating quite a few diversions
to keep my feet dry. I put my Hiking Boots on for the return so was
able to barrel straight thru the bogs, which made for much quicker
progress while still maintaining dry feet.
Crossing back over the bogs on my way to climbing to the top of Great Whernside yet again.
Approaching Stone Head Crag.
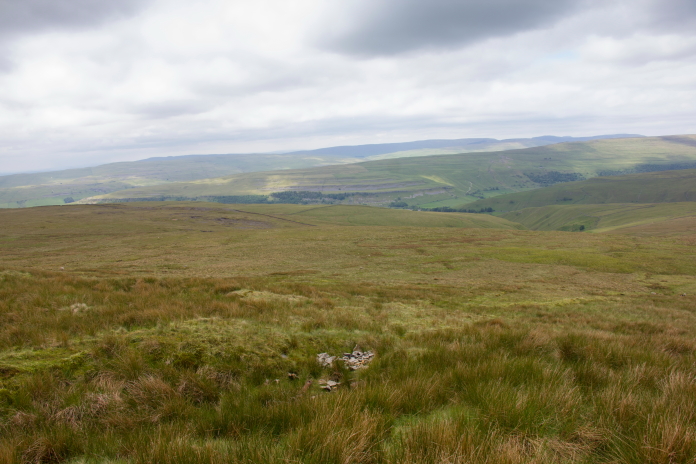
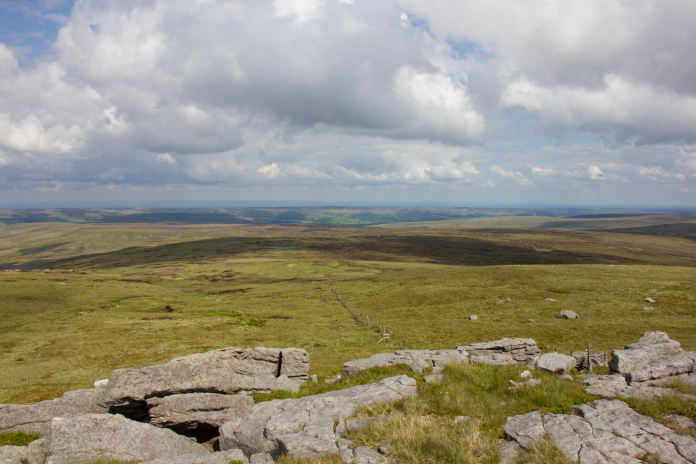
View back to Riggs Moor, the Wellington crashsite is about centre of the photo on the light green grass. It might just be my poor eyesight but The distant moors have taken on the appearance of the sea on this photo and there even appears to be beaches.
Back on Stone Head Crag. After passing Stone Head Crag on the way back I made a diversion to have a look for a mystery bit of aircraft wreckage that another Hill walker had told me about. He had indicated a rough area just to the east of Great Whernside summit on my map and told me it was in a peat hag next to an area of hillside that resembled the surface of the moon. Despite having a good roote around I didn't find it. After a quick google when I got home I discovered the mystery bit wasn't from a crash, it was a droptank that had been jetisoned by an overflying Gloster Javelin.
The stile at the top of Black Dike, wonder how long before the PC brigade ask for that name to be changed?
Nice view across the valley. Because I spent quite a bit of time and energy looking for the droptank I ditched any thoughts of doing a bonus bonus walk to Buckden Pike. It's not as far to drive to this area as I thought so Buckden Pike could make for another nice days walking and there's also a Phantom crashsite over that way as well that I could incorporate into one walk, once I find out where that one is located.
 The "TFFT" moment I always experience no matter how nice the walk's been.
 *-Previous bonus walk.