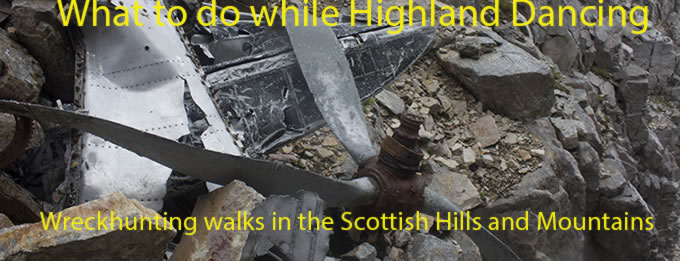
'Oh Shit!'
Hawker Typhoon MN572 on Stony Hill.
(Distance covered = 10.6mile/Ascent =+583m)
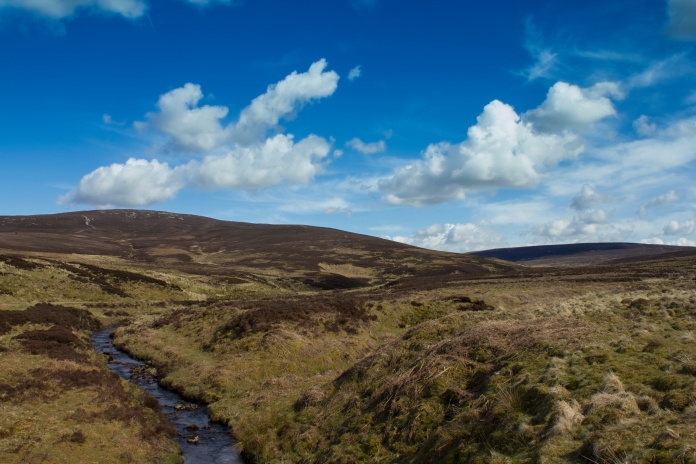
Heather was dancing in a Championship in Kilmarnock ,which is not too far up the road from Muirkirk, where I was planning on parking the Pug to visit the crashsite of a Hawker Typhoon in the neighbouring Hills.
There is a slightly shorter route to reach Stony Hill, from Fingland to the south, but that way would have involved a longer journey in the Car and more time spent walking through woods, so I opted to park at Kames, near Muirkirk and walk in from the North.
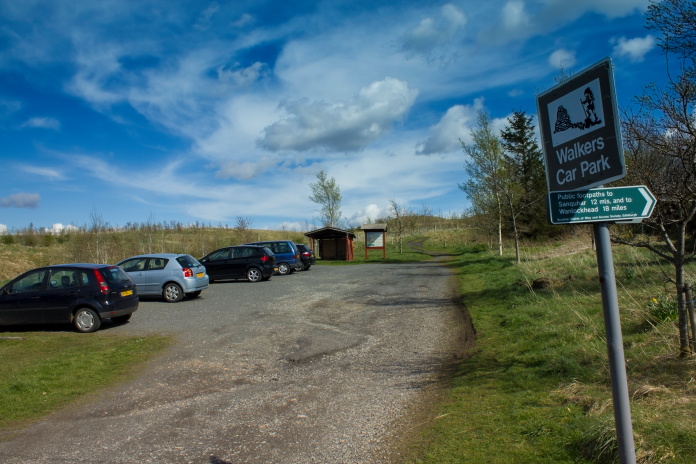 The carpark at Kames.
Walking in from the North also allowed me to go via the Summit of Cairn Table on the way to check out a War Memorial which was marked on my map up on the top, it also meant I could make this into a circular walk by returning using a different path which was further to the west.
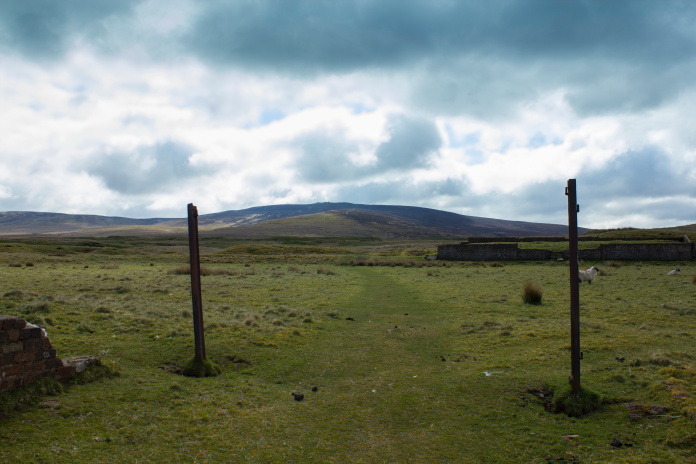 Setting off from the carpark towards Cairn Table,seen
in the distance, dead ahead.
Setting off from the carpark towards Cairn Table,seen
in the distance, dead ahead.
The first half a mile or so was through old mine workings but after the that it turned into a bit of a bog slog, duck boards had been put down in places but most of them had become marooned in the middle of large boggy puddles.
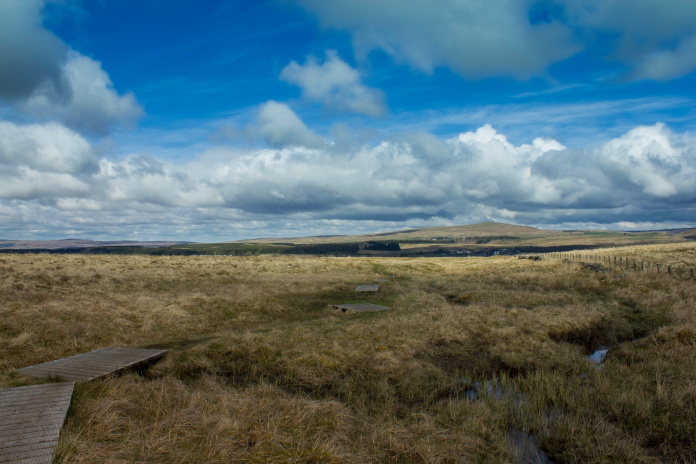
above and below:-Duckboards and Mud.
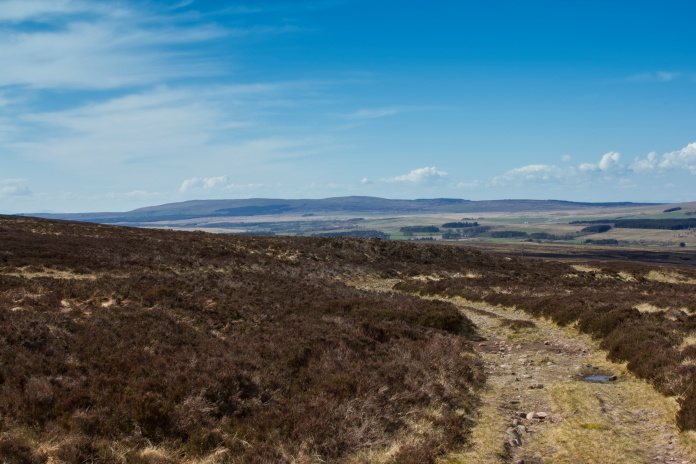
Once the path hit the lower slopes of Cairn Table it improved considerably and I was soon over a few false tops and in sight of the summit, which is unmistakable due to the massive cairn sitting on the top of it.
Approaching the first false top of the day,
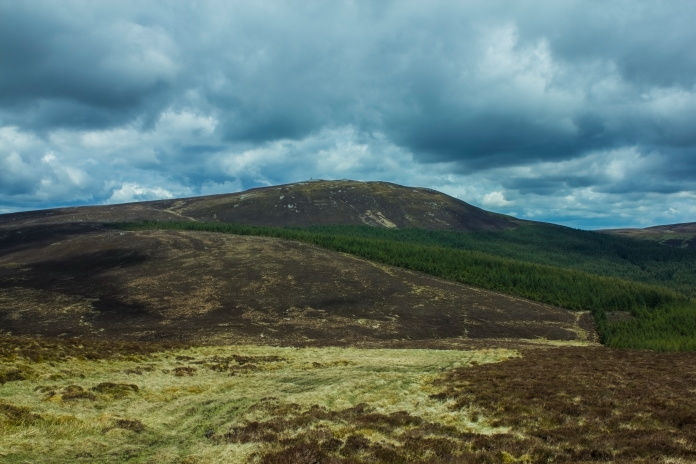
Stony Hill is off to the right in the distance.
Approaching the second false top of the day, the massive cairn on the actual summit can be seen to its left.
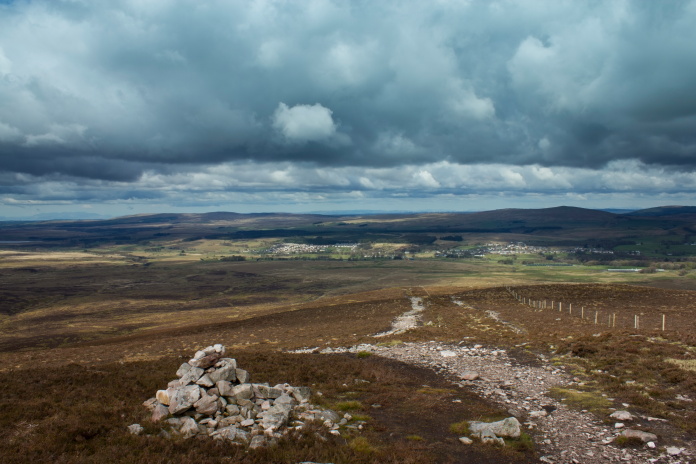
View back down to Muirkirk.
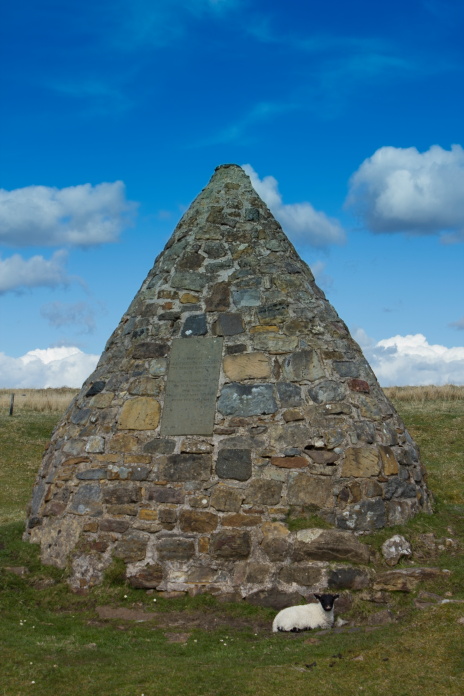
The Hill takes its name from two prehistoric cairns that were built on the top which resembled Tables, one is intact and stands about ten feet tall, the second one had its stones removed by the Locals to build the War memorial, which is the large pyramid shaped cairn that can be seen from miles away..
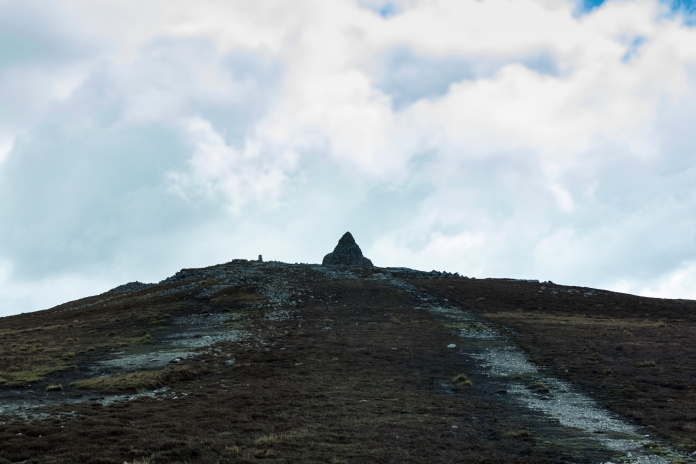
Nearing the summit and the War Memorial.
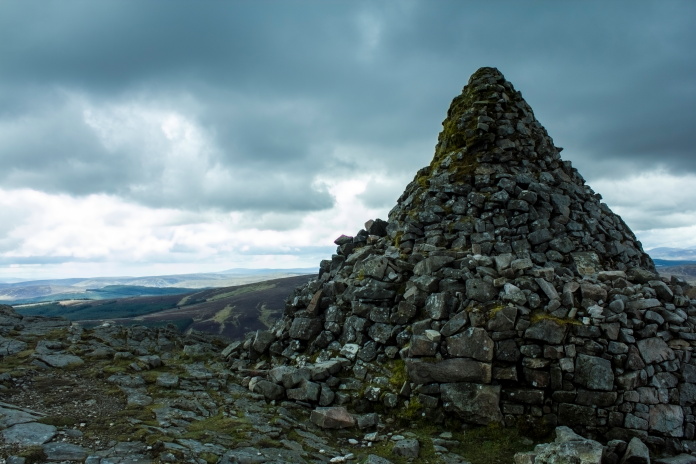
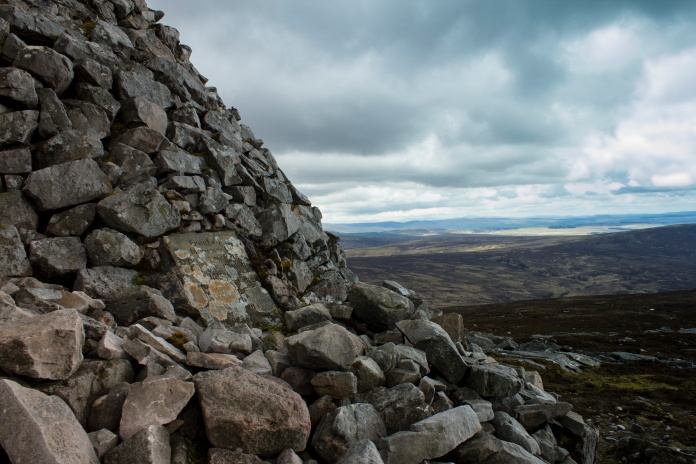
Above and below:-The War memorial, built to commemerate Local Men who were lost in the First World War. The inscription on the tablet reads:-
ERECTED
IN MEMORY OF
THE 87 MEN OF
MUIRKIRK PARISH
WHO FELL IN,
AND ALSO TO THE
HONOUR OF THE
262 MEN AND WOMEN
WHO RETURNED FROM,
THE GREAT WAR
1914-1918
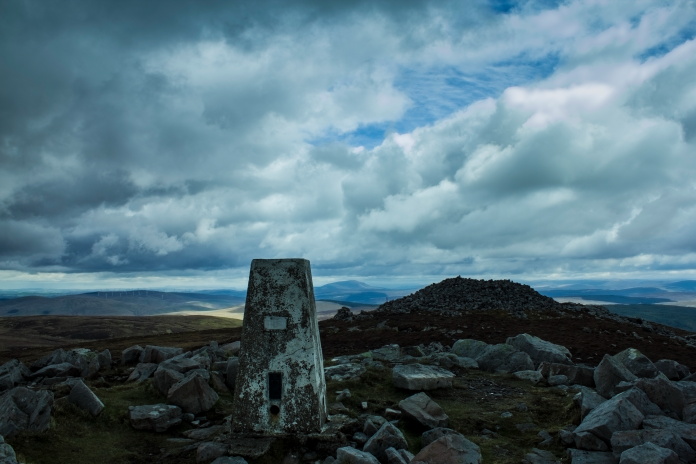
Also on the summit is an O/S trig point and
one of the Prehistoric Cairns the Hill takes its name from, the trig point stands in the middle of what remains of the other cairn, which was recycled to construct the memorial.
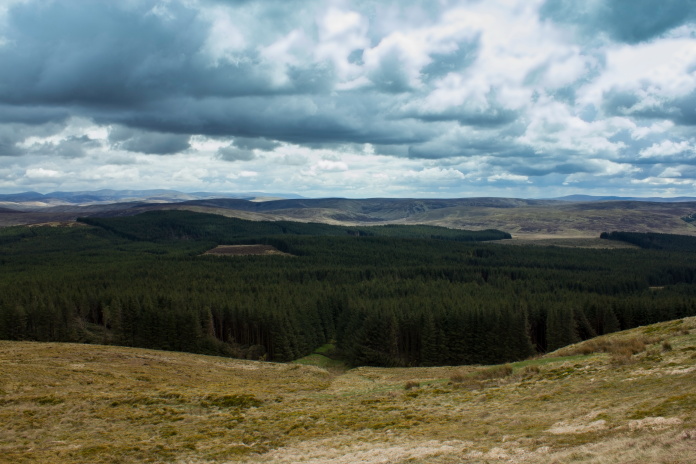
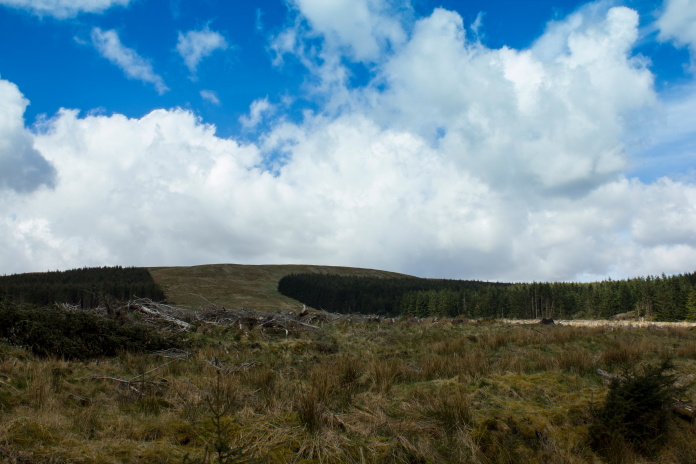
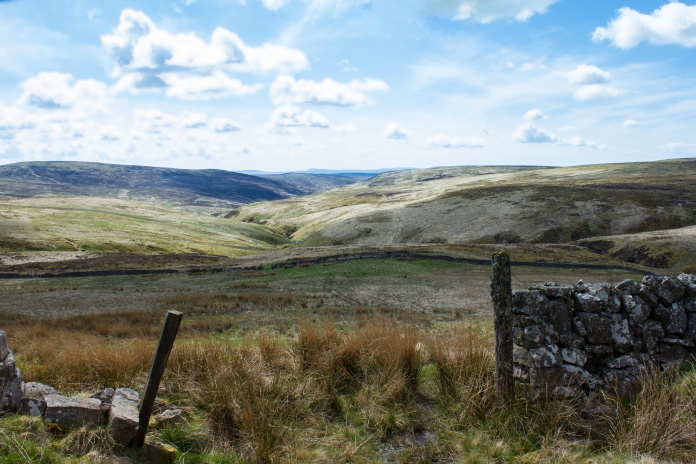
After checking out the top of Cairn Table I headed south towards Stony Hill following the edge of a plantation, this made navigating easy as the Typhoon wreckage lay just above the treeline.
Stony Hill from the top of Cairn Table.
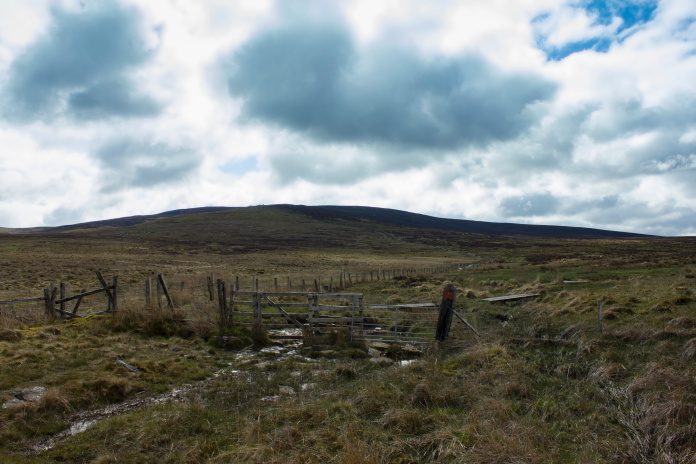
The path was ok going down off Cairn Table, but became boggy and indistinct once over onto Stony Hill so I left the edge of the woods and followed a fence up to the summit instead.
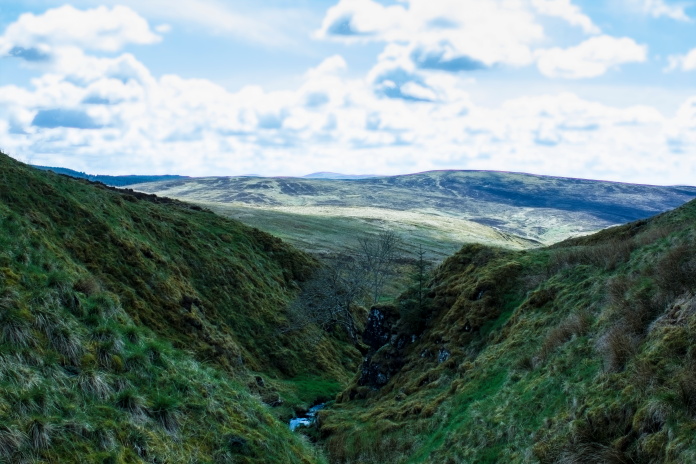
This path became very boggy once over the burn and onto Stony Hill.
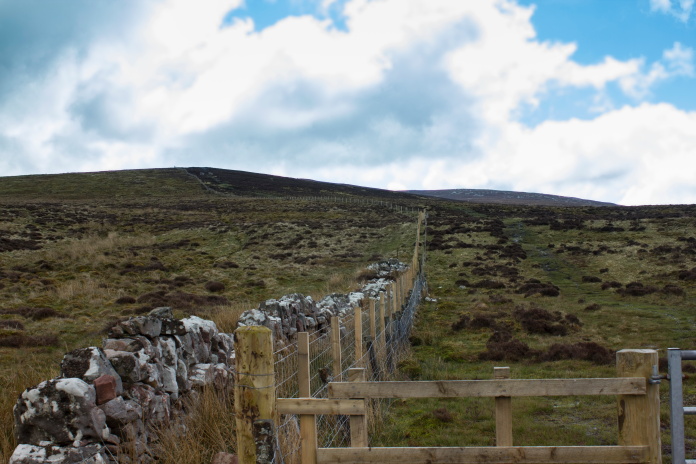
Looking back to Cairn Table from the ascent of Stony Hill.
On the map I had, the fenceline I was following went to the top of Stony Hill then turned east and back down the hill, right past the Typhoon Wreckage.It didn't do this on the ground but instead split in about three directions none of which went in the direction marked on the map, so I took a compass bearing instead which wasn't really needed as the wreckage was easy to find.
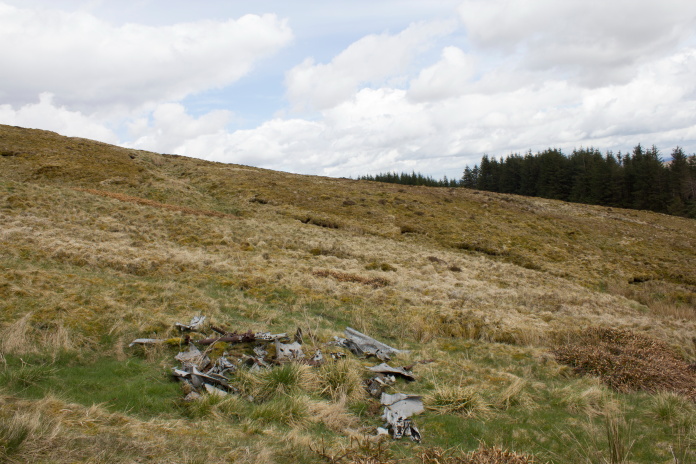
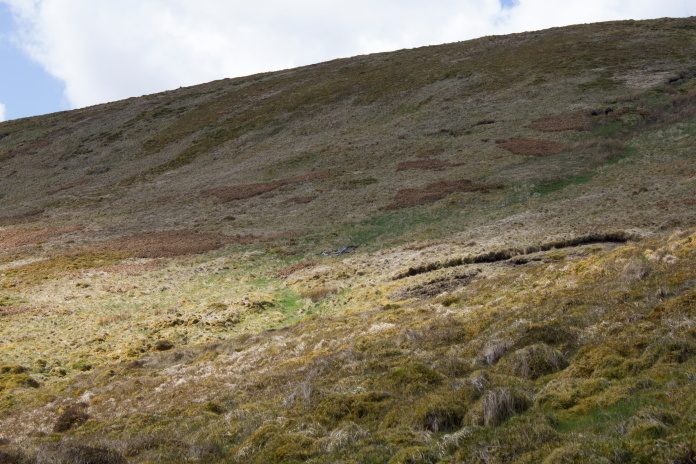
Nearing the Typhoon crashsite.
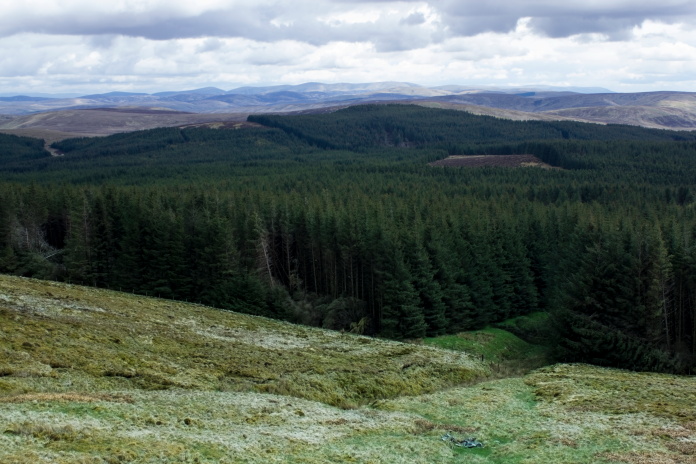
Almost there, the wreckage can be seen at the bottom of the photo just right of centre.My
return route was down the clearing seen behind it.
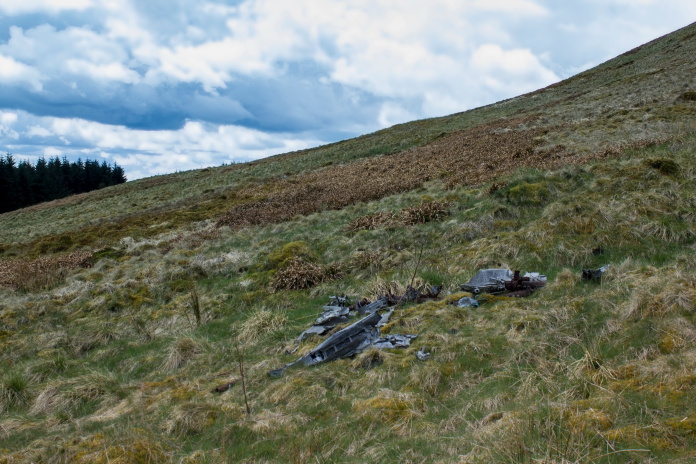
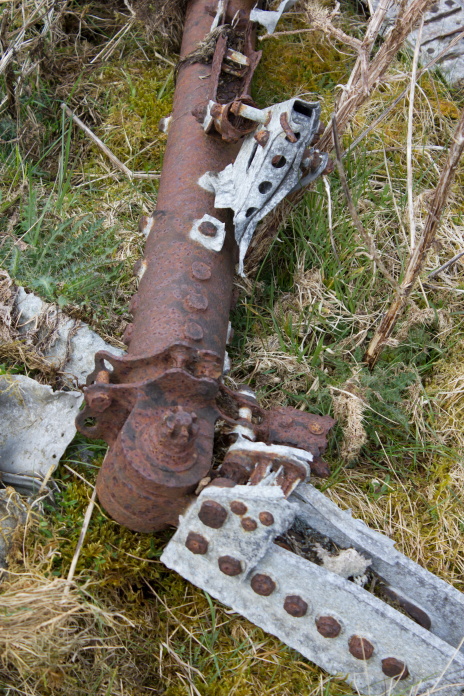
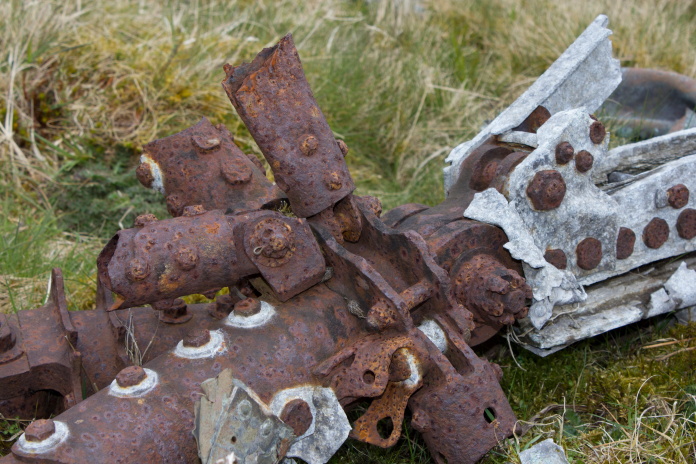
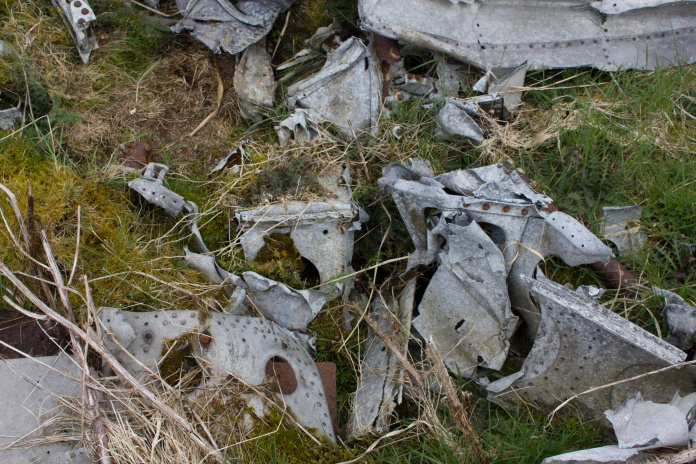
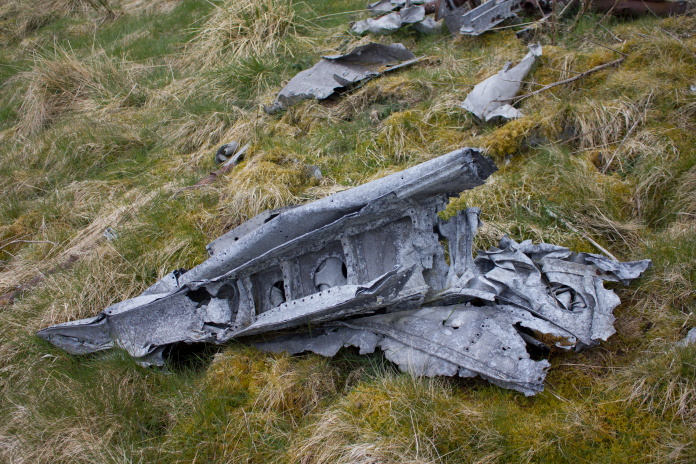
The crashsite consisted of one collection of pieces, mainly comprising of the tubular frames of the cockpit area, with small pieces of wing spar still attached.
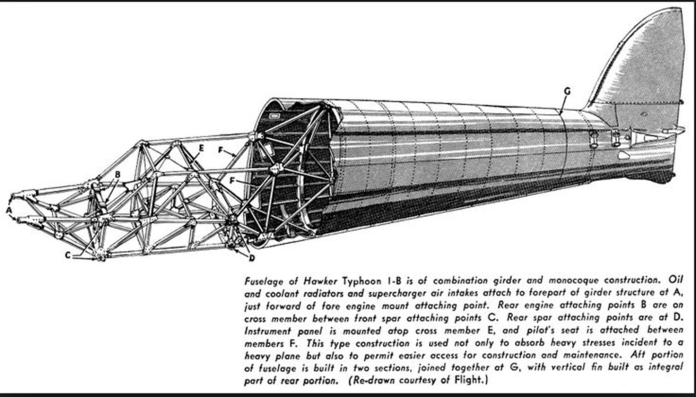
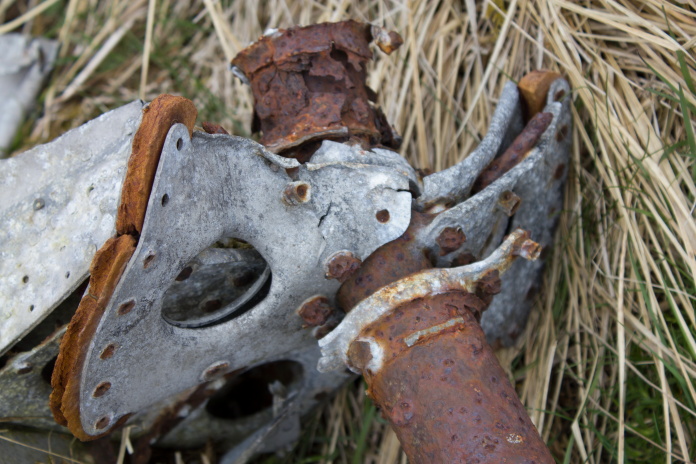
The parts marked 'B', 'C' and 'D' can be
seen in the next 8 photos,'C' and 'D' are the joints where the wings
attached.
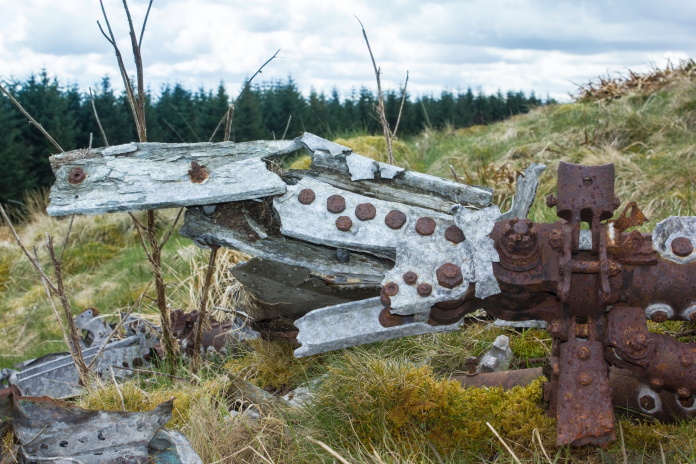
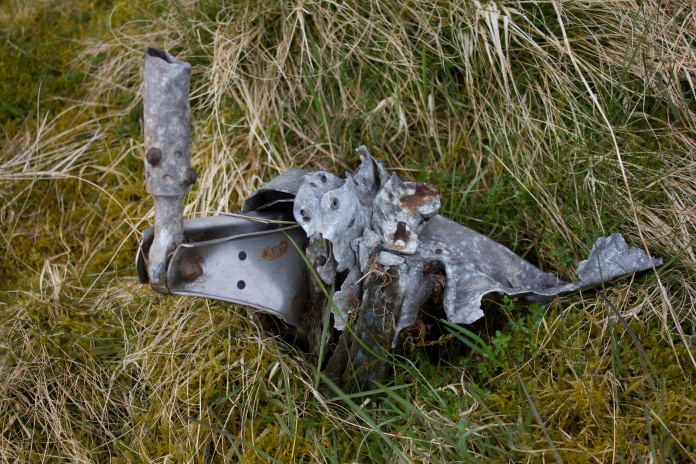
Above and below:-The rusty part to the right is frame 'D', the grey corroded piece attached to it is the remants of the wing root, the large nut and bolt used to secure the wing to the frame can be seen in the centre.
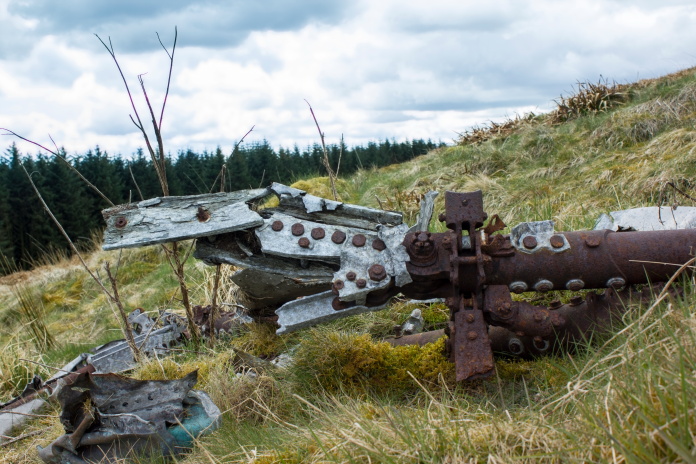
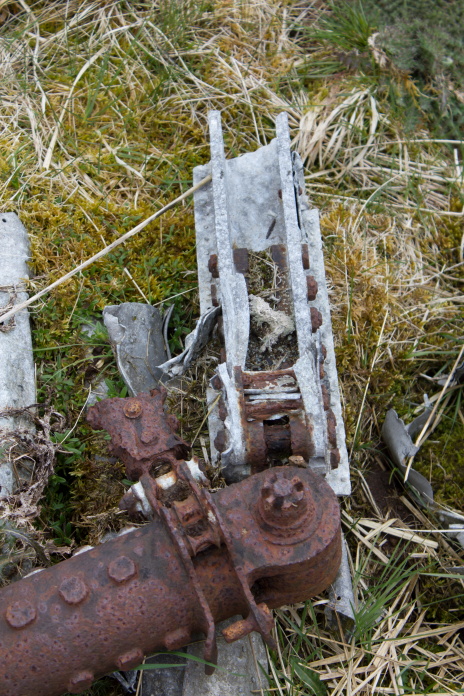
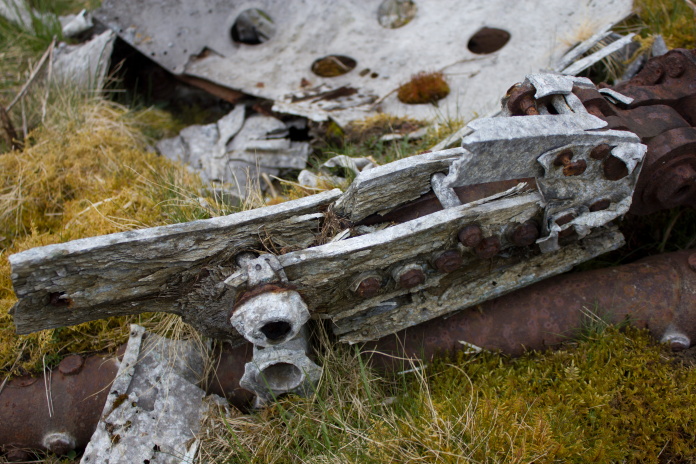
Another frame with the remains of the wing still attached.
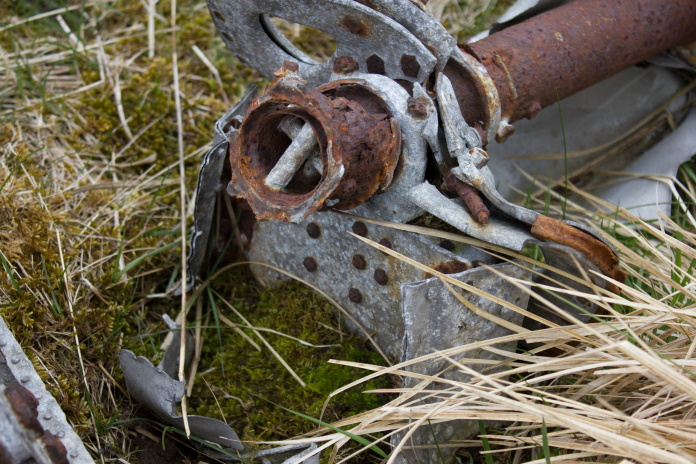
above and below:-Two more views of the frame 'D' wing attachment joint, the grey piece of wing spar now on the right
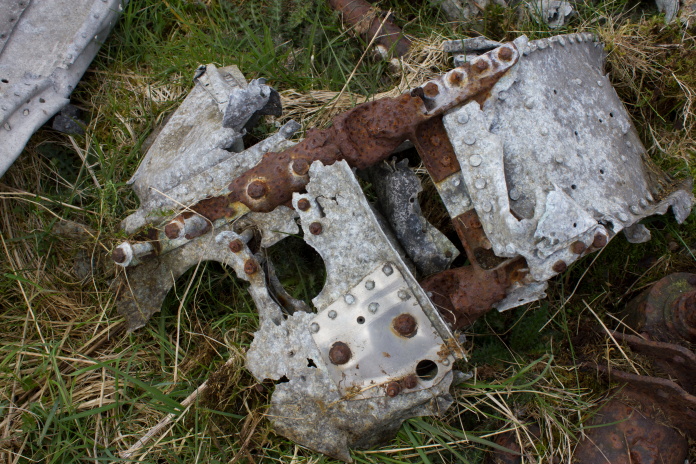
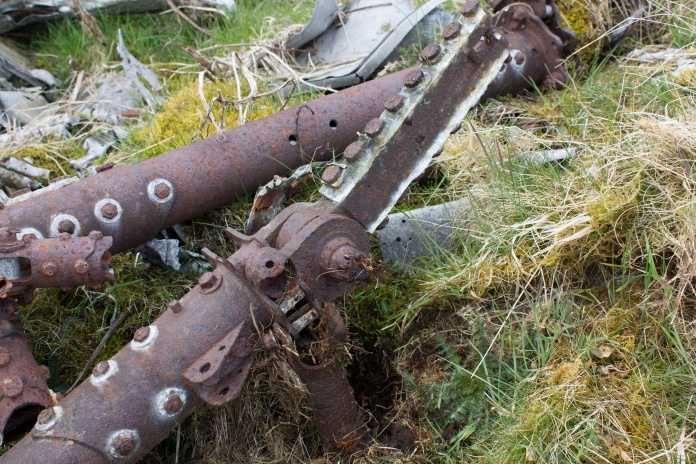
above and below:- A control wire cam attached to the remains of one of the control surfaces.
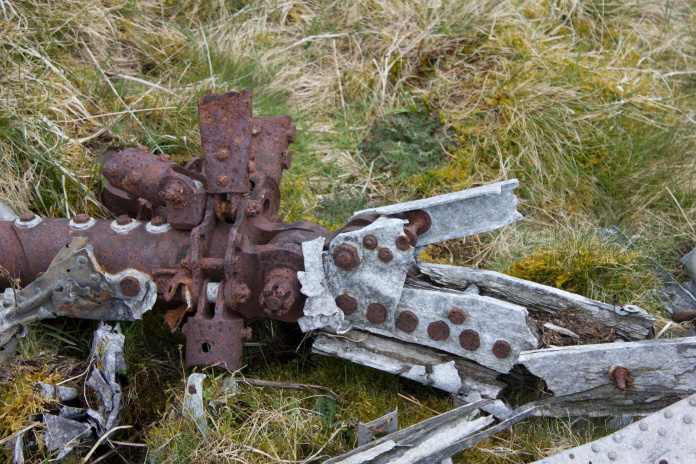
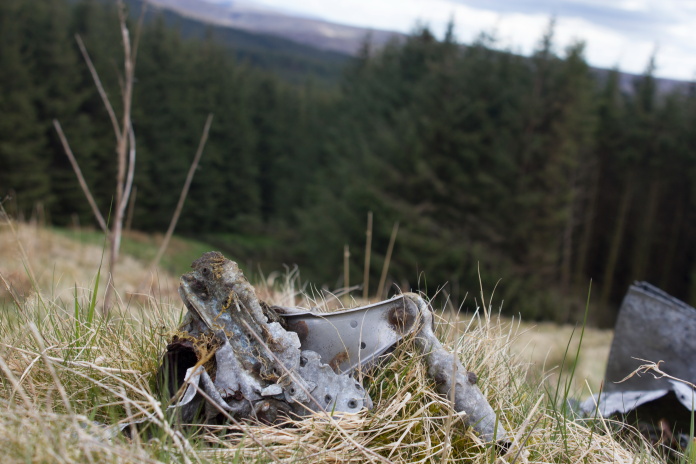
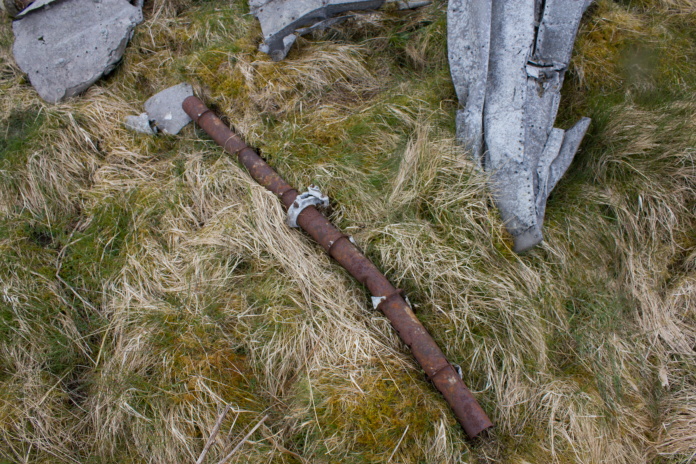
This piece used to lie further down the hill beside the plantation fence, but it has now been moved uphill beside the rest of the wreckage, the reverse of what usually happens!
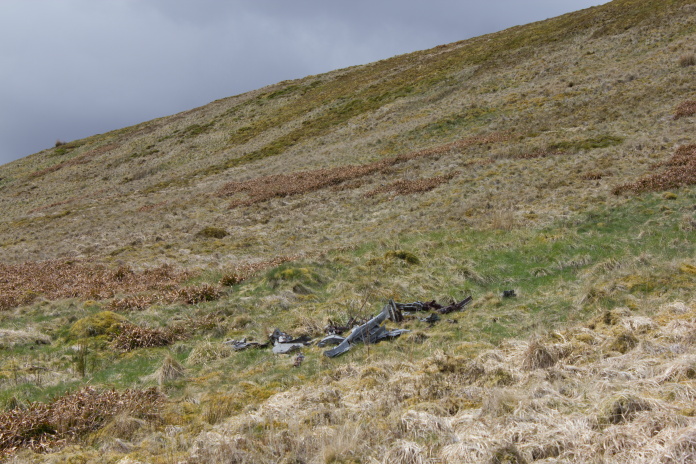
Leaving the crashsite, the wreckage can be seen centre of the photo. The Napier Sabre Engine used to be here but I believe a Museum Group had it away!.
After having a sit down in the sunshine on the banks of a nearby Burn to eat my bait I headed off back to the car, but because I was taking a different route back which was further to the west, heading back to the car at first meant walking half a mile in the opposite direction.
Above and below:- Off down the south side of Stony Hill through a clearing, hopefully to find a forest track which would take me west.
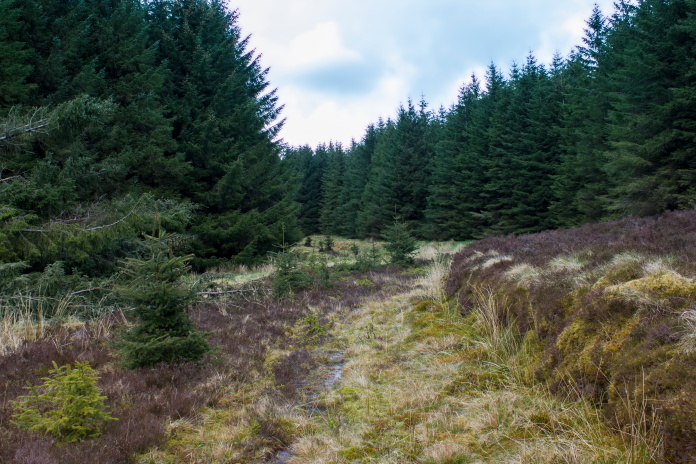
Heading south through the firebreak also allowed me to look for any pieces of the Typhoon that may have been carried downhill by the Burn or the Magpies but there was nothing else to be found other than the Forest track that came up from Fingland, which I intended to follow west to pick up a path which then went north up the west side of Stony Hill back to Kames.
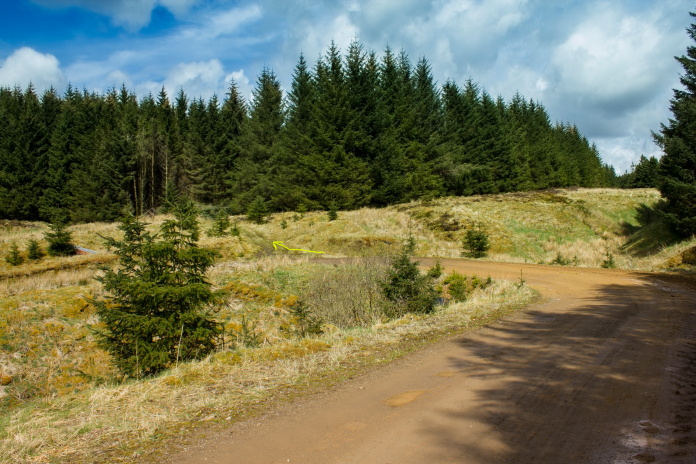
On the Forest track, the yellow arrow points to the clearing I had just exited.
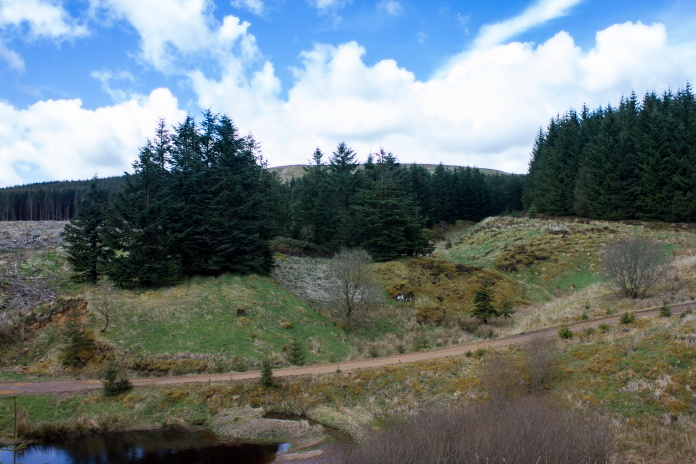
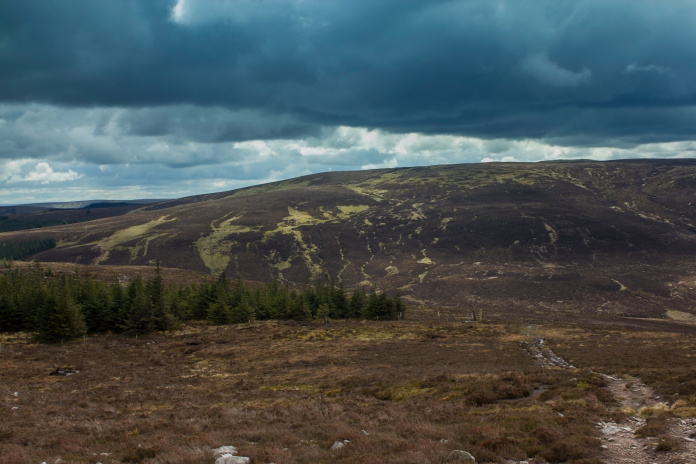
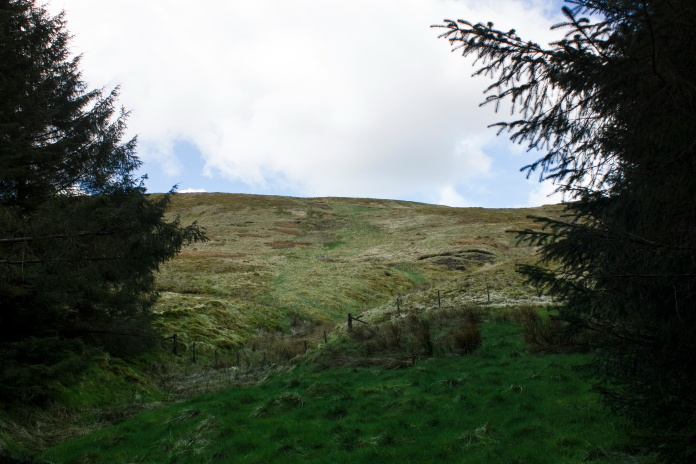
Stony Hill from the forest track, I
backtracked towards Fingland a couple of hundred metres to take this
photo, I needed to follow it to the west on the other side of the pond.
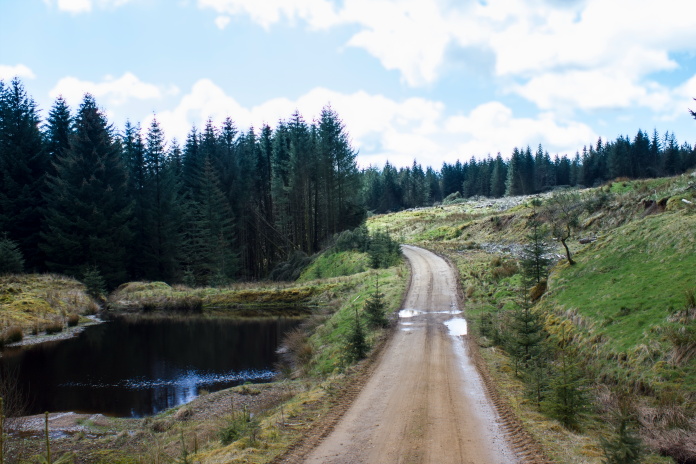
Heading in the right direction now.
Another view of Stony Hill,the Typhoon lies near the right of the hill just above the trees.
I was wary of missing where the footpath north left the forest track but I needn't have worried as it was clearly marked with a large signpost.
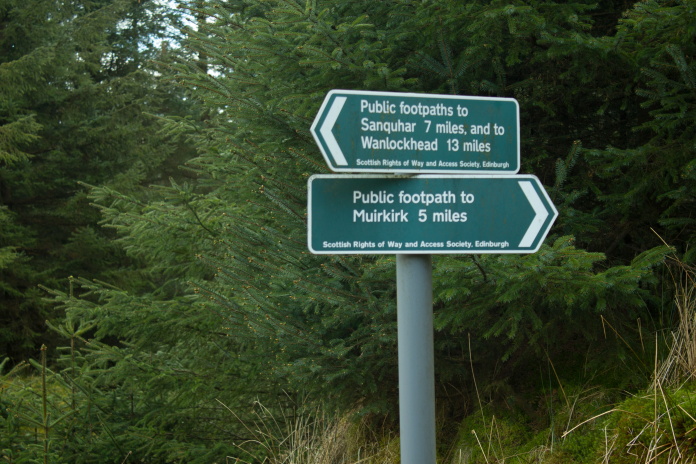
My immediate reaction to seeing the signpost was "Oh Shit!", this was because up to this point I had been in no hurry, thinking I had plenty of time to get back to Kilmarnock in time, but on seeing the signpost I realised I only had an Hour and a Half to cover those 5 mile then drive back to the Competition Venue.
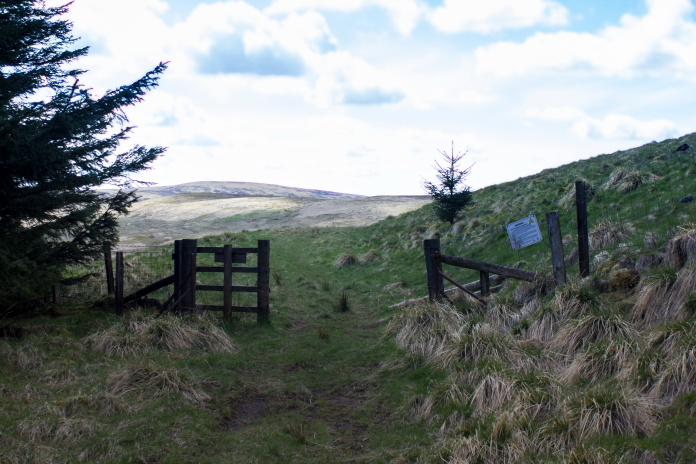
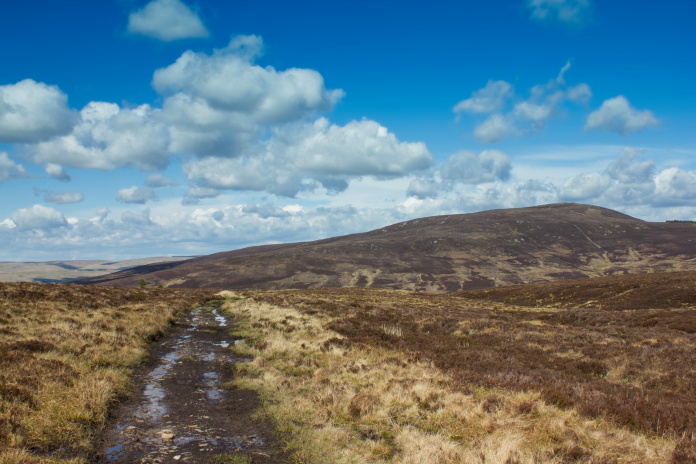
Breaking clear of the woods, thankfully onto a good path.
Nowt like a bit of a challenge and at least the path, once out of the woods, was easy going. I set of north at a very brisk walking pace mindfull that I couldn't keep stopping to take photographs.
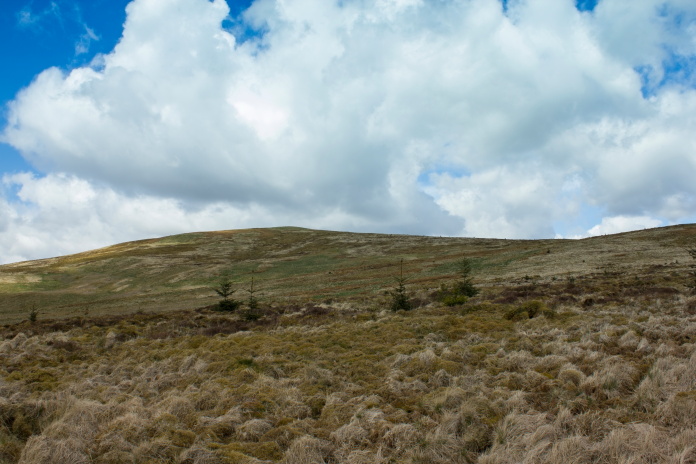
Pepper Hill, on the south west flank of Stony Hill.
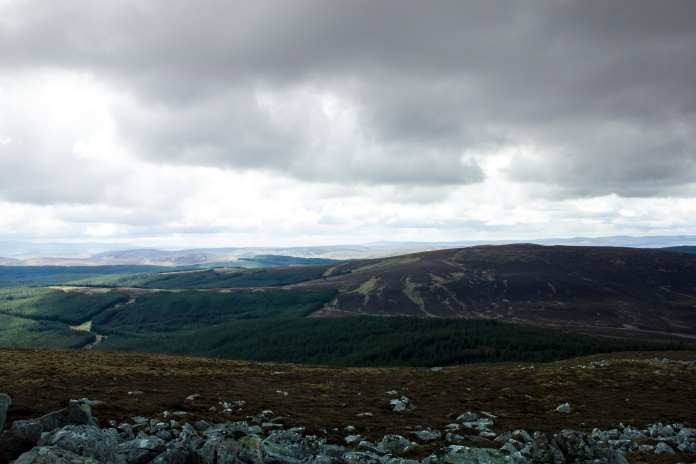
above and below:-A couple of views to the west on the way back.
After reaching the half way point on the way back I had used up more than half the time I had calculated that I needed to get back to Kilmarnock in time, so I did a bit of jogging to make up some time, this tactic was scuppered however when I was passed by two Dune Buggies going in the opposite direction.
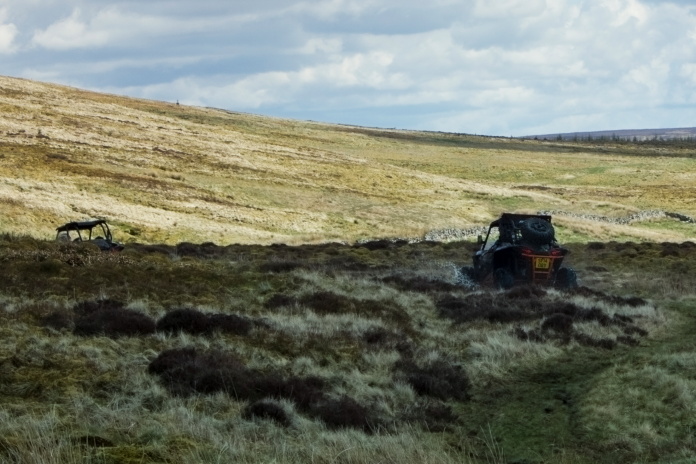
Thanks to these two my progress became a lot slower.
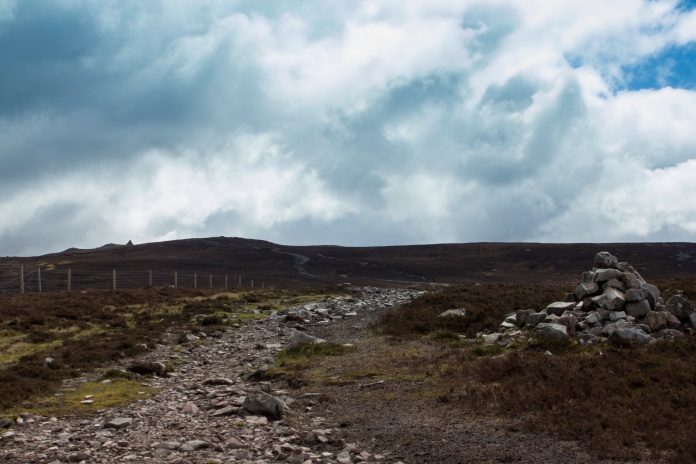
The pair of dune Buggies had managed to change what had been a good path into a gooey mess!, every time they hit a soft patch they were flooring it, causing their back wheels to spin and making a very good job of turning grass into mud. Luckily about a mile after passing the Path Destroyers a rocky track appeared and I was able to pick the pace up again, plus it was now all downhill back to the carpark.
 Nice
rocky road to follow downhill. Cairn Table is on the right in the distance.
Nice
rocky road to follow downhill. Cairn Table is on the right in the distance.
Not long after joining the rocky track I came upon a metal gate, on the other side of the gate the track improved even more, but before going through the gate I noticed something strange in a large area of muddy bog beside the track. It was the top of a Motorcycle Helmet, just sticking up out of the mud, I figured if the Motorcyclist was still wearing this helmut then he was beyond any help from me, so I continued on my way!
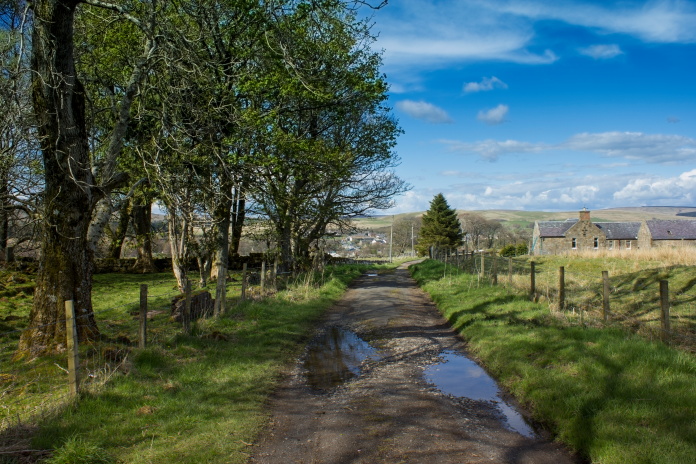
An even better track through the gate.
Almost back to the carpark I came across another large pyramid shaped cairn. This one was a memorial for John Macadam, better known as Tar Macadam and the workings around here were where his tar pits and factory had been. A bit further on I walked along the small road which he used to test road surface on and which was the world's first 'Macadamised' Road.
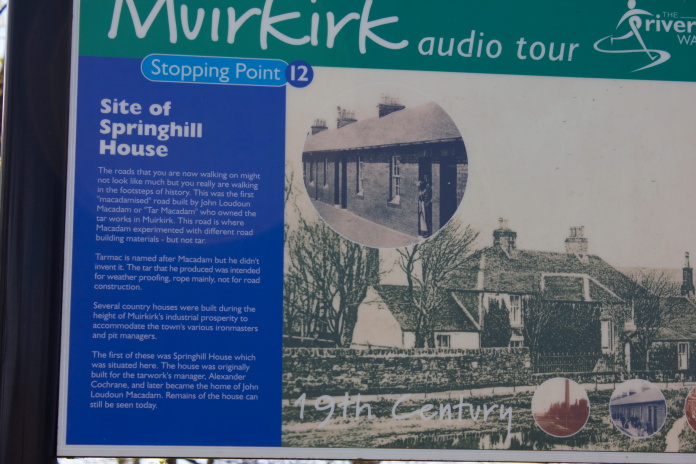
Walking along the World's first 'Macadamised' Road, although you couldn't tell by looking at it now.
My mad dash paid off because I drove into the carpark at the competition venue just as the girls walked out the door and to nicely finish off a very enjoyable day I could see Heather was carrying a Trophy!