Seven
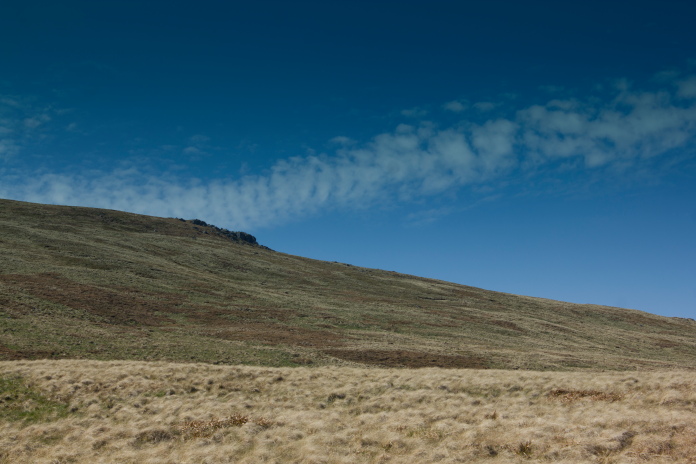
Supermarine Spitfire P8587 on Bellyside Hill.
(Distance covered =
12.6 mile/Ascent = +1105m )
Not only was the competition today a local one but the girls also had a lift there and back so it was time to instigate my plan to visit all seven crashsites on the Cheviot massif in one go, including one that up to now I had failed to find!
I was up and off by 5.30am and it was only a 40 mile drive up to Langleeford where I was planning on leaving the car, so a nice early start was definately on the cards and with the only time constraint being what time it would get dark, I was going to have more than enough time to complete the approximatley 14 mile walk.
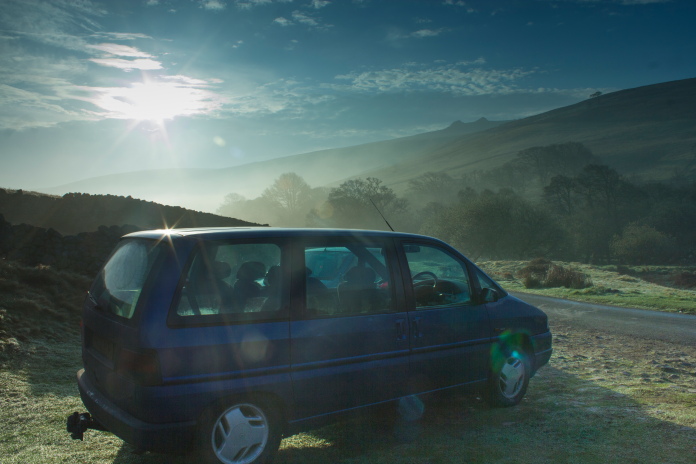
Blueberry Esmerelda Muffin II parked at the end of the public accessible road, just short of Langleeford.
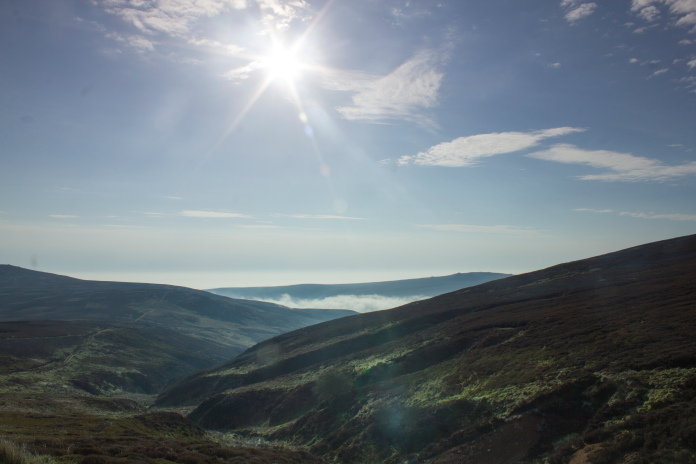
The drive up from Blyth to Langleeford had been in thick fog all the way but once over the curiously named Skirl Naked and down into the Harthope Valley it was sunny, with just a hint of mist clinging to the valley floor.
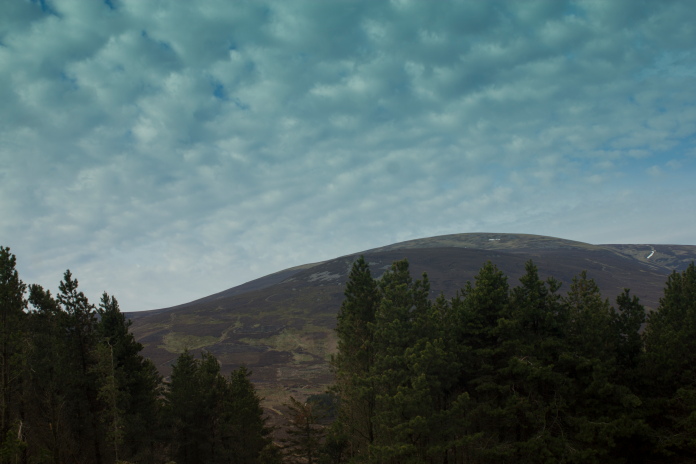
Hedgehope Hill
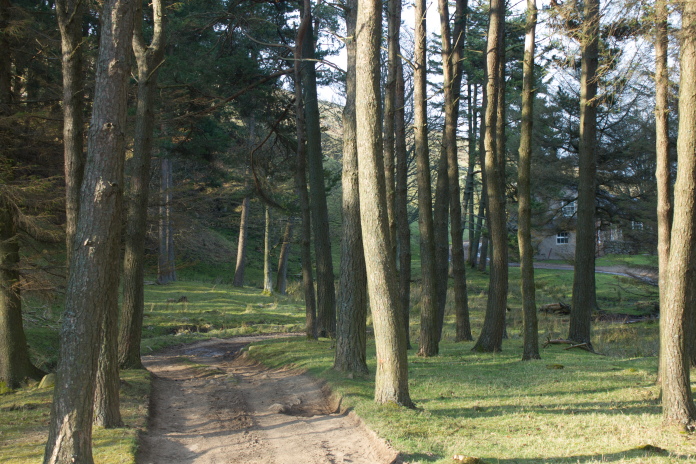
It was very tempting to spend way too much time at the spot where I'd parked the car; it was very warm and sunny but there was still mist loitering around which had mingled with the sunshine to create an almost magical atmosphere. This atmosphere combined with the sound of the birds singing and the babbling water in a nearby stream made this a very relaxing place to be.
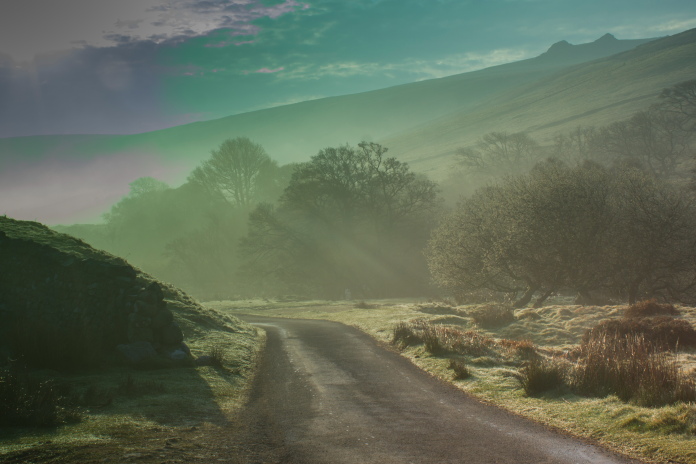
The sun and the mist made the Harthope Valley a magical place to be so early in the morning.
By the time I eventually set off walking it was 7-00am and it had become very warm already. Following a path that ran alongside the Hawsen Burn the first mile or so was sheltered from any possibility of a cooling breeze, but even up on higher ground there was not the slightest hint of any wind, so it would seem it was going to be a very hot days walking.
View back down the Hawsen Burn.
Approaching the col between Broadhope Hill
and Scald Hill.
Didn't expect to get a photo of a Dolphin in the Cheviot Hills!
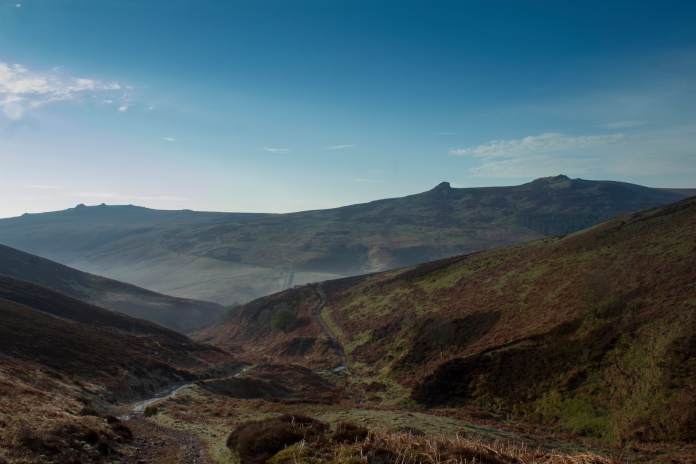
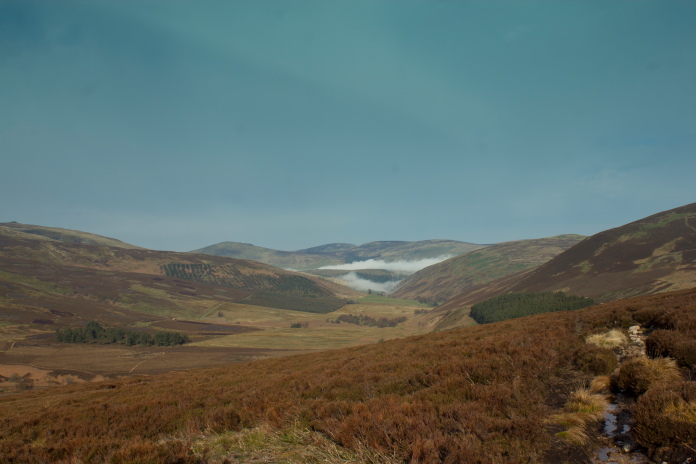
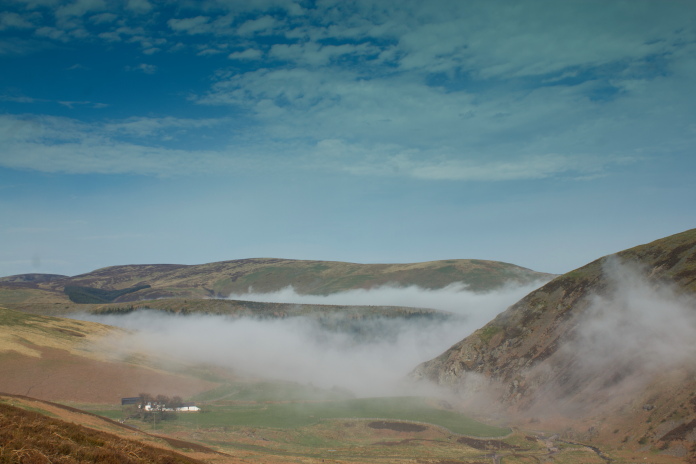
View back down towards Langleeford from the head of the Hawsen Burn. The mist is still lingering down there.
It was a bit of a slog up the Hawsen Burn to the col between Broadhope Hill and Scald Hill which seperated, not caused by it proving overly steep but more due to it being so warm. Once over the coll progress became a bit easier, not because it was any cooler but because it was downhill as my route dropped into the Lambden Valley.
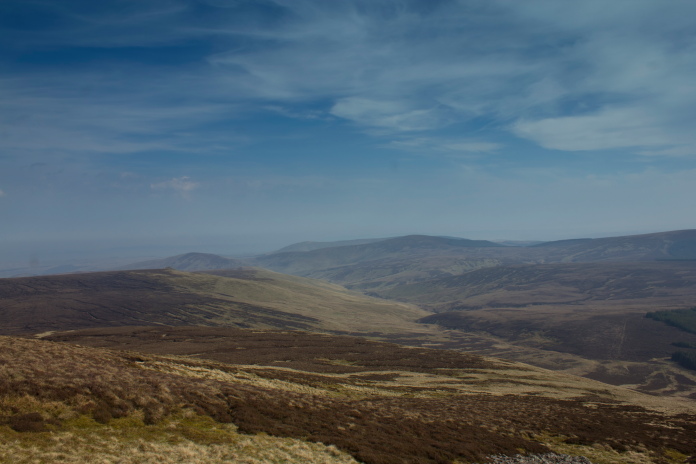
View down the Lambden Valley.
View of Cheviot from the Lambden Valley.
Once past Goldcleugh Farm in the Lambden Valley the next mile was on a relatively level matalled road, then to reach the first crashsite of the day I would have to go up a steep track that runs up the spine of Bellyside Hill. After about 3/4's of a mile I decided to take a short cut when I noticed a grassy path running up the edge of a recently felled wood.
Dunsdale Farm, now holiday accomodation.
My shortcut turned out to be a bit on the steep side but at least it was good exercise and I consoled myself as I struggled upwards by thinking of all the calories I was burning.
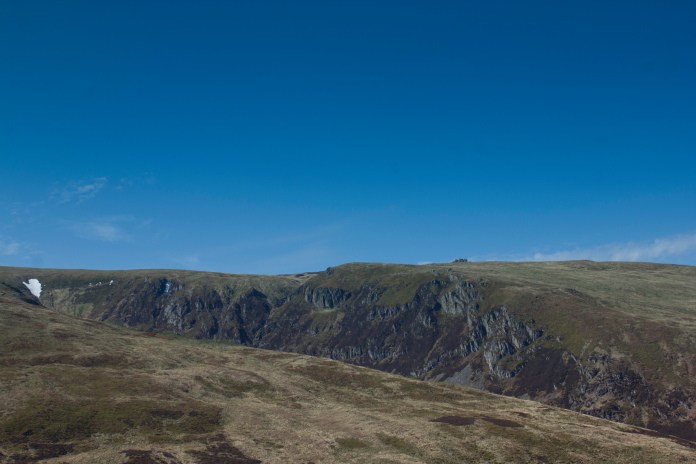
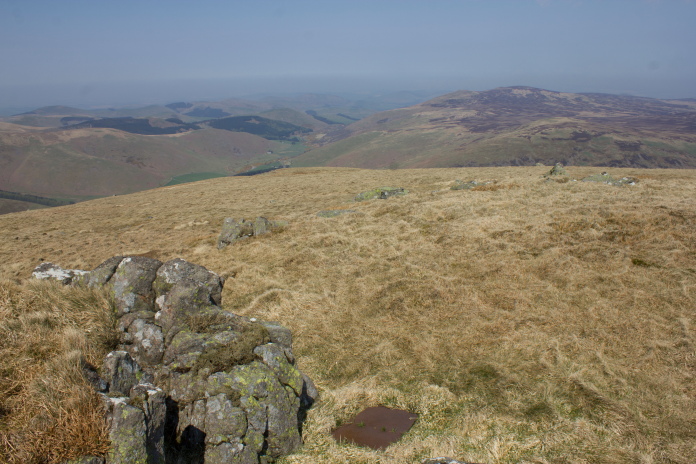
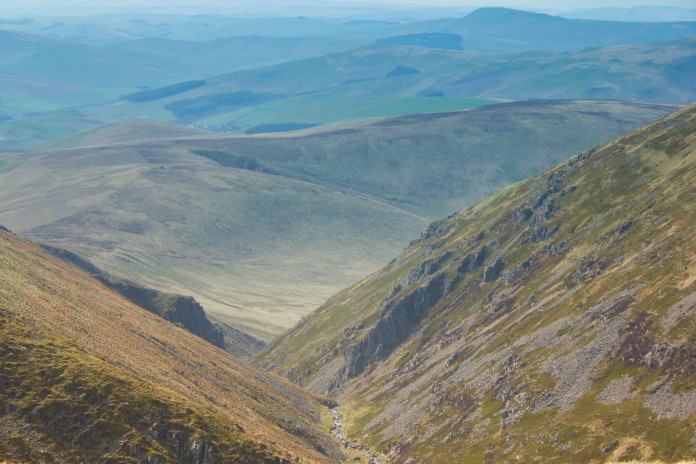
Good view across to the Bizzle.
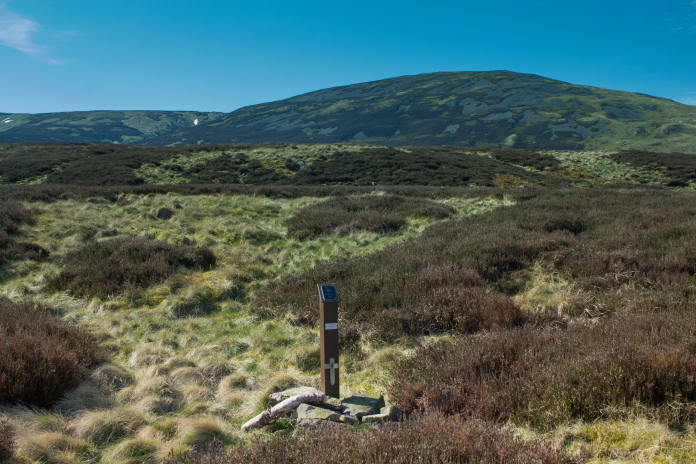
I'd been to look for the Spitfire crashsite on Bellyside Hill unsuccesfully on two previous occasions so I was hoping this time was going to be third time lucky. I did manage to find a memorial post which has been placed here now with some fragments gathered around its base.
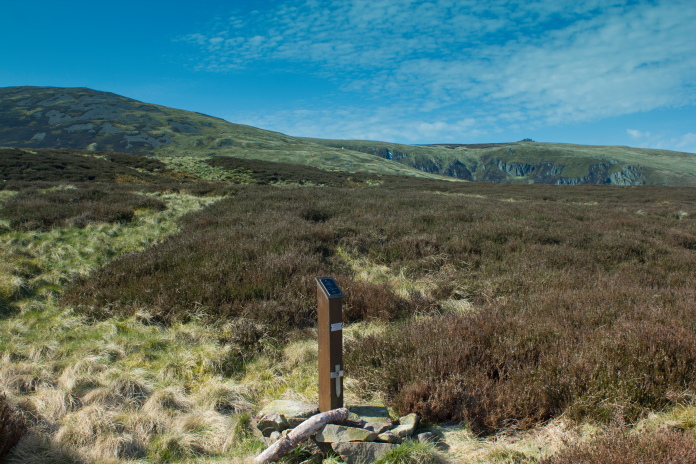
Spitfire memorial post on Bellyside Hill.
After taking some photographs I carefully replaced everything as I had found it then set off back down Bellyside Hill towards Dunsdale. My planned route to visit all seven crashsites was: 1-Spitfire on Bellyside Hill, 2-Wellington on West Hill, 3-B17 on West Hill, 4-Warwick on Cairn Hill, 5-Stirling on Cheviot summit, 7-Lancaster below the eastern cairn and finally 7- Hawker Hart near Woolhope Crag.
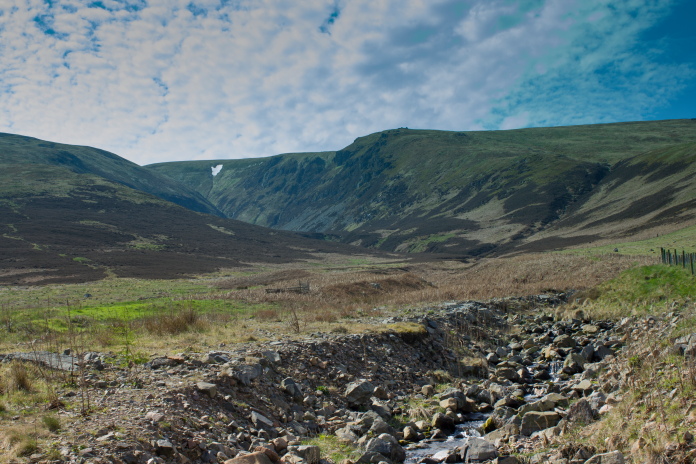
View up the Bizzle from Dunsdale.
Next on my agenda was a Vickers Wellington that crashed on West Hill over on the north west slopes of Cheviot and above Dunsdale Farm. On the way I made a small diversion to look for a reduction gear from the B17 that someone had tried to 'acquire', but had then dumped quite a way downhill in a small burn that runs into the Bizzle. I had been informed of the location of this reduction gear by a member of an Air crash Investigation Group, when he found it there was also a battered rucksack lying next to it, this was full of pieces of geodectic most probably from the nearby Wellington wreck. I could find no sign of either of these items so they could of either been buried in the soft boggy ground or more likely someone has sprited them away. It wasn't until my visit to look for these parts that I put two and two together after remembering a conversation I had a good few years ago at a local Museum when one of the members described to me how he'd tried to 'recover' a reduction gear from the B17 crashsite but then abandoned it further down the hill when it became too heavy.
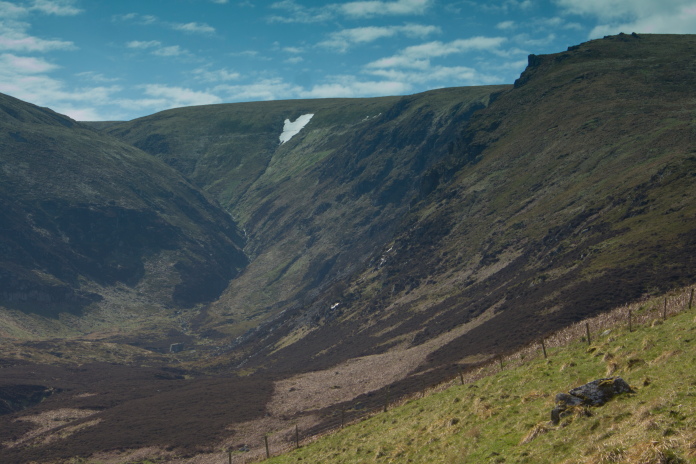 Even better views up the Bizzle on my way to look for an errant reduction gear!,
quite a few people have fallen off Bizzle Crags.
Even better views up the Bizzle on my way to look for an errant reduction gear!,
quite a few people have fallen off Bizzle Crags.
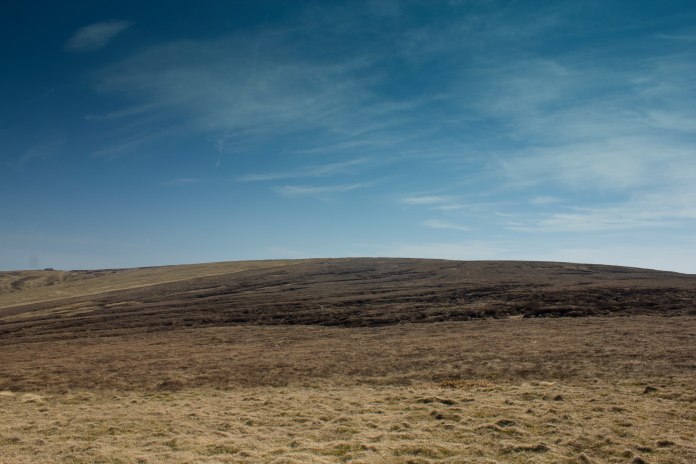
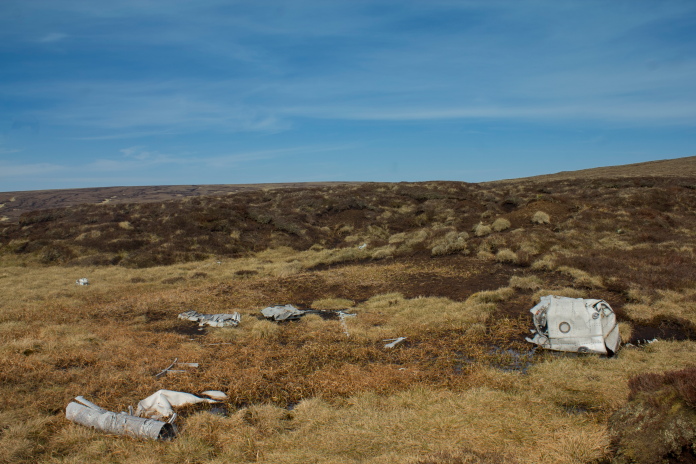
Approaching the Wellington crashsite on West Hill.
I'd been to this Wellington crashsite a couple of times before but this was the first time with my digital camera so I took quite a few new photos to add to the webpage for this crashsite*.
above and below:-Wellington crashsite on West Hill, not much left!
From the Wellington it was a long haul up to the third crashsite beside Braydon Crag and just as I did in the Costa del Campsies** I'd timed it perfectly so that the longest and steepest climb of the day was at the warmest part of the day.
Almost at Braydon Crag after a long slog up West Hill in the scorching sunshine!
Before reaching Braydon Crag I had a look for a large lump of B17 tailplane that I'd found on my last visit, but unsuprisingly this had vanished and a little further on I found a lump of armour plate that seemed to be making its way down the Hill by the same route as the tailplane and reduction gear. This piece of armour plate was lying next to the rock where one of the B17's propeller blades used to be fixed before that was stolen!
Piece of Armour plating making it's way down the hill!
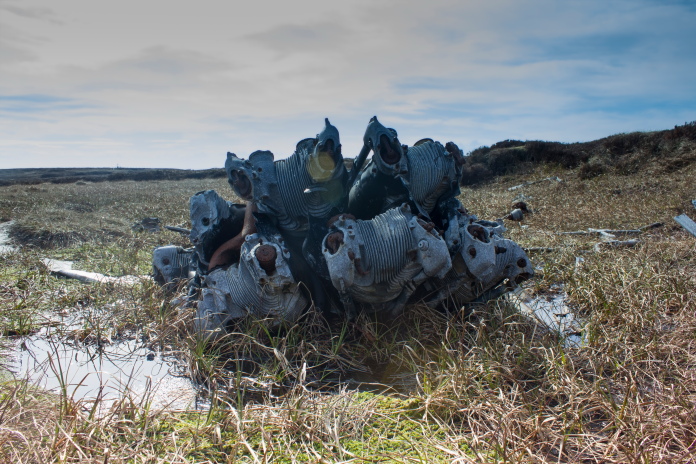
View of the B17 crashsite from Braydon Crag.
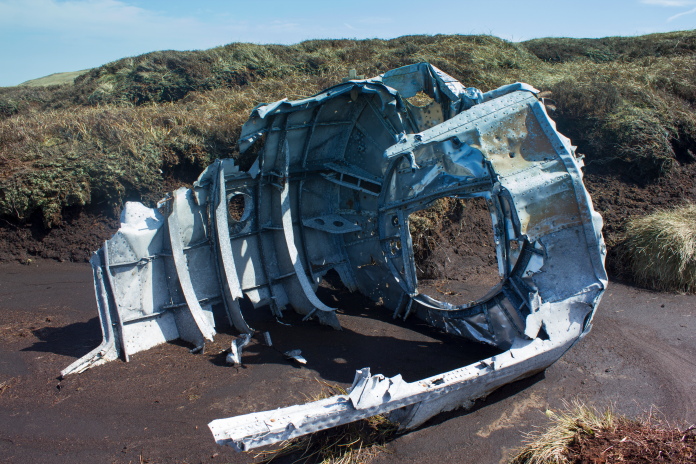
This engine nacelle used to be in one of the main
crashsite craters but is now quite a way down a peat gully and it has been stripped bare!
Compare it to the photo
here.
Some of the B17 wreckage with Braydon Crag in the background.
Walking from the B17 crashsite at Braydon Crag across to the Vickers Warwick crashsite on Cairn Hill didn't involve crossing many contour lines if any, so the only obstacles were the heat and the lack of any paths. About halfway I found a nice rock to sit on to have my bait, which had the added bonus of a canny view down to the Henhole.
View of the Henhole from my bait stop.There's
bound to be some impressive waterfalls in the Henhole but I didn't venture
down for a look as murderous Northumbrian Fairies live in the caves down
there and if
they didn't get me the climb back up in the heat would have!.
It was shirt off, boots off and a bit of sunbathing, so I think it must have been well over an hour long scran break before I eventually resumed my course towards Cairn Hill. Instead of heading straight for Cairn Hill I intercepted the Pennine Way to the west, at the junction where the spur up to Cheviot Summit joins. I then followed that, as it passes right by the Warwick crashsite.
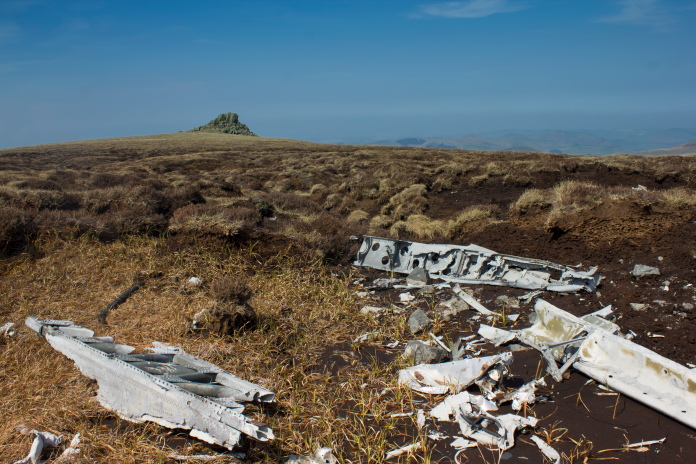
 Passing Cairn Hill just before hitting the Pennine Way.A piece of Warwick can be seen just below dead centre of the photo.
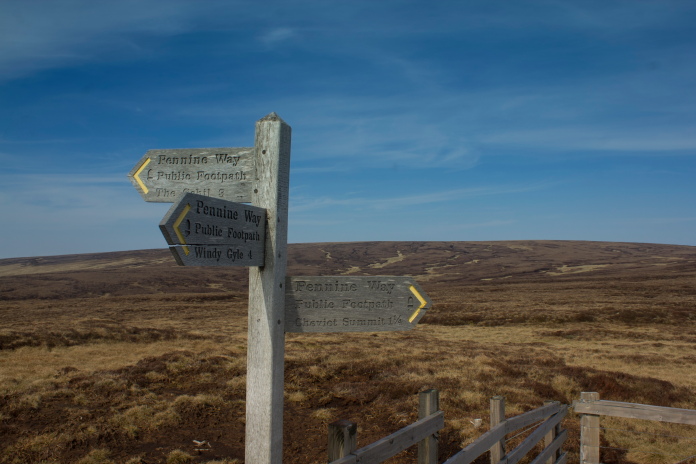
Cheviot spur Junction on the Pennine Way.
above and below:-Warwick crashsite.
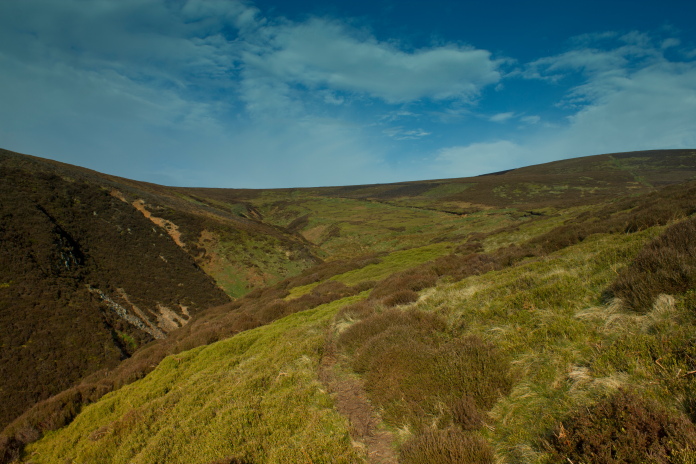
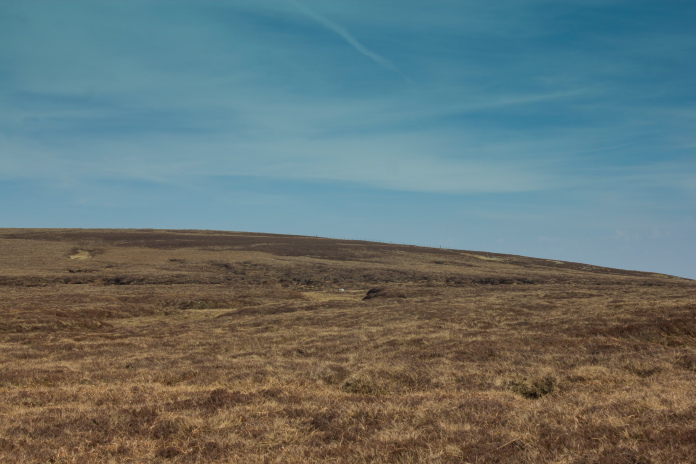
After a quick shufty around the Warwick crashsite I still had 3 of the 7 crashsites left to go but as I'd been to those 3 within the last year I decided to miss them out and headed off down Scotsman's Knowe instead, to pick up the very start of the Harthope Valley, which I would follow back down to Langleeford via Harthope Linn and Langleeford Hope.
'Scotsman's Knowe', no idea why its
called that but next time I see a Scotsman I'll ask him and he might know!
Another contributary factor in my decision to miss out the last 3
crashsites was the heat. The heat had caused two negative effects on my days
walking:
1-It had caused me to spend way too much time sitting on rocks sunbathing or admiring
the views.
2-It had caused me to drink almost all of my water.
Therefore by the time I reached crashsite number 4 on my itinerary I was running out of time and H2o. I could have refilled my bottles from a stream but the thought that upstream there may be something deceased lying in the water or someone might have taken a pee always puts me off that idea.
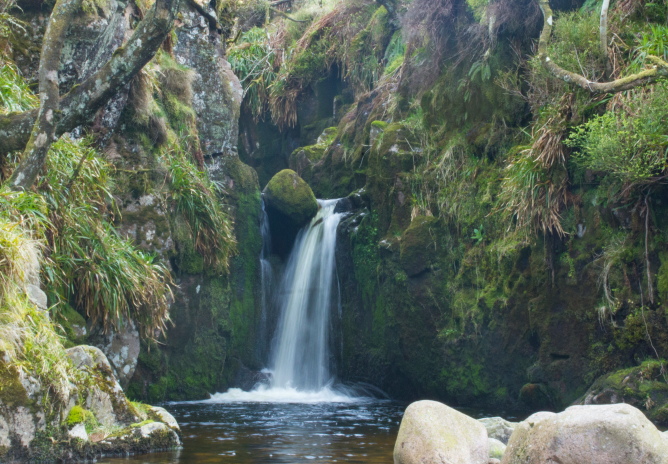
Harthope Linn, still my favourite waterfall!
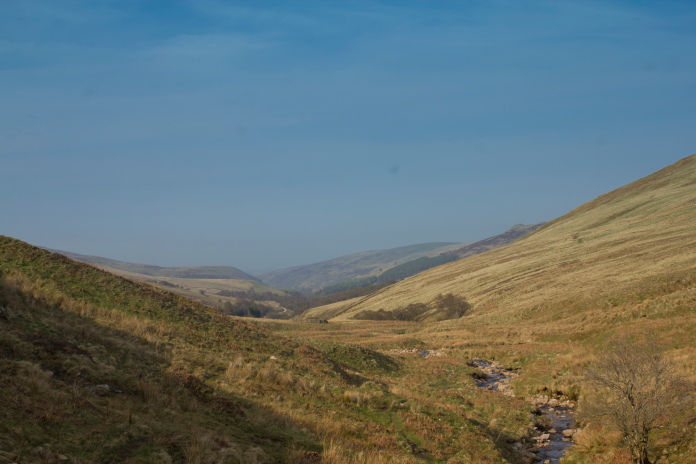
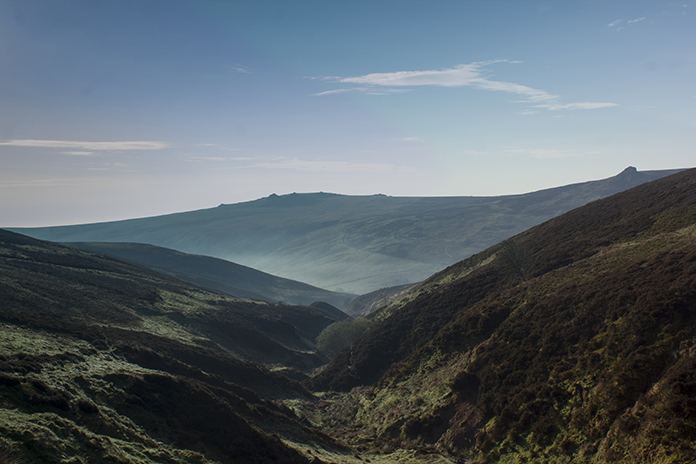
The higher reaches of the Harthope Valley.
Approaching Langleeford Hope
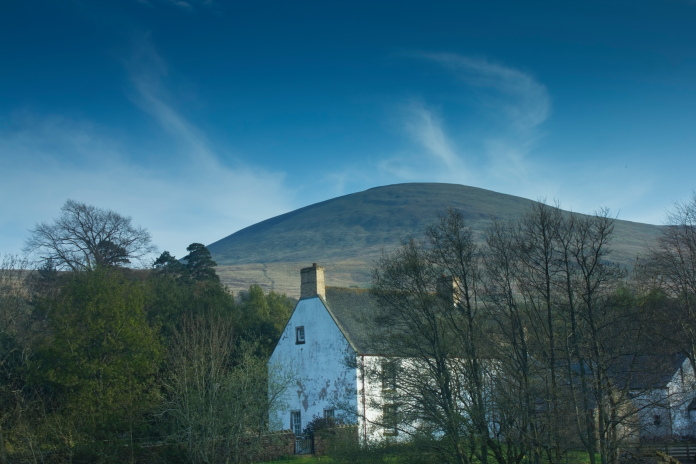
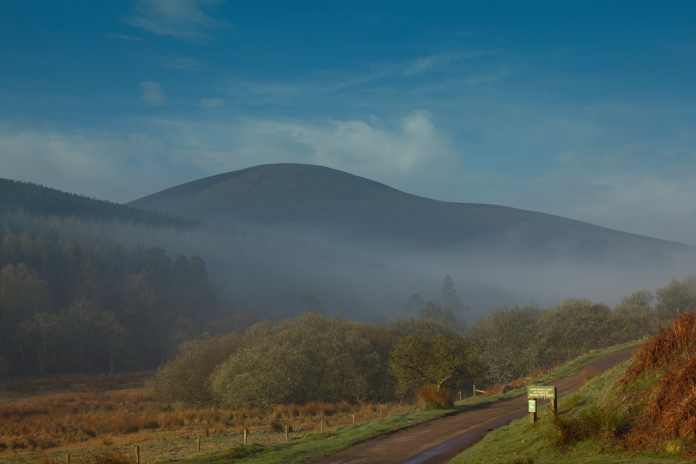
Langleeford, with Hedgehope as a backdrop.
I'd set off from the car at 7am and I arrived back again at 7pm so it had taken me 12 hours to walk just under 14 mile. That's an average of a tadge over 1mph, not very quick going, but if you subtracted all the time I spent taking photographs, sunbathing or sitting on rocks looking at the view I think my average speed would have been a little better. But on such a georgious day why would I want to go any quicker anyways!