Scouts.
Bristol Blenheim T1863 on Morven.
(Distance covered =
3.5mile/Ascent =+536m)
A nice easy one for day 11 of my 2020 walking holiday; distance wise anyways, the path up the side of Morven was relentlessly steep and thanks to my good luck with the weather it was also very warm going.
Unlike my excursion the previous day there was ample parking opportunities at this one and also some information boards and directions for walkers, which is always nice as they negate any concerns about being chased by angry farmers or over zealous gamekeepers.
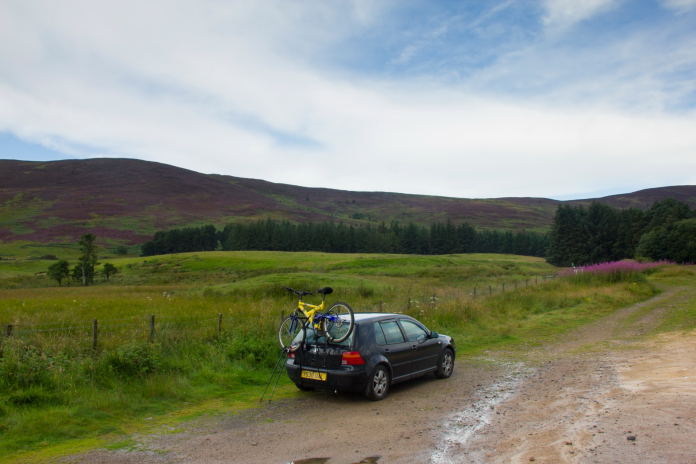
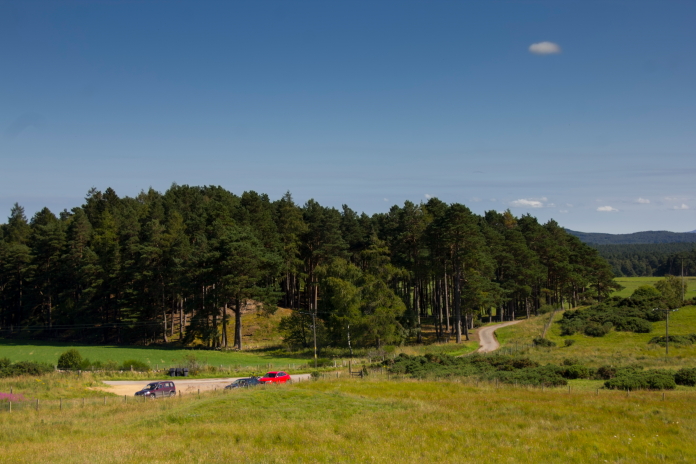
Parked in a rather large layby between
Bridgefoot and Grodie.
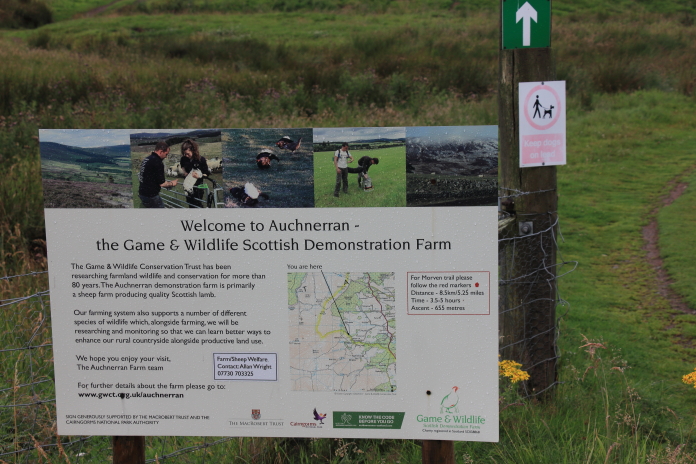
Information Board beside the start of the path to Morven.

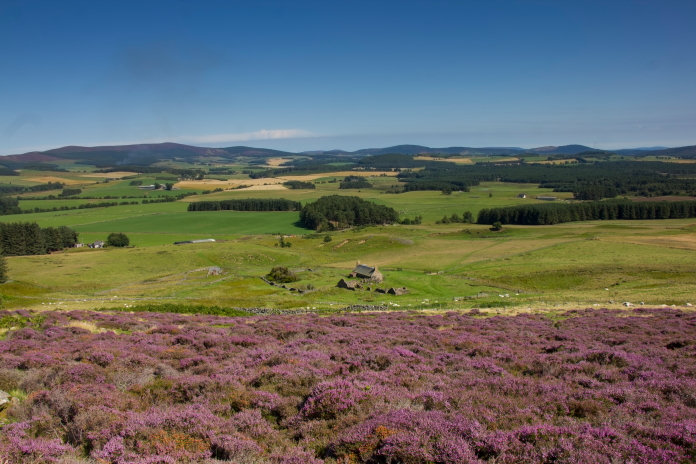
Passing the derelict farmhouse at Balhennie.
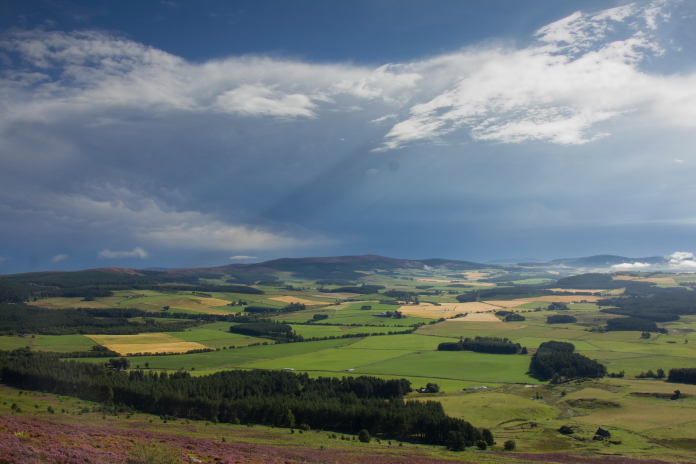
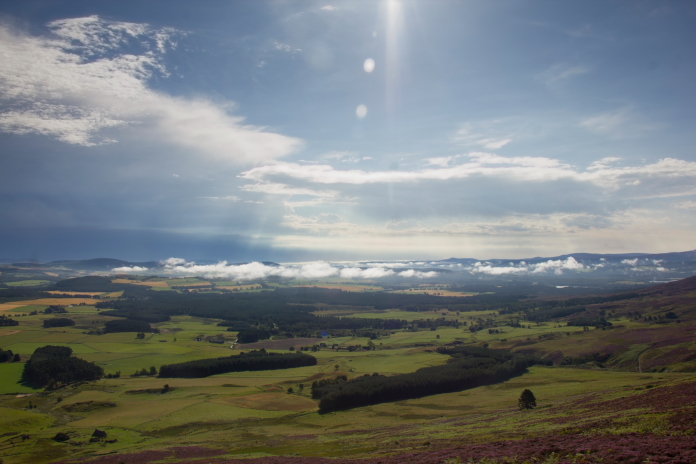
The night before there had been a bit of a thunderstorm which had continued until the following morning, but by the time I set off walking it was lovely and sunny over Morven with some canny views of the thunderstorm dispersing off to the east.

above and below:-The remnants of the thunderstorm off to the east.

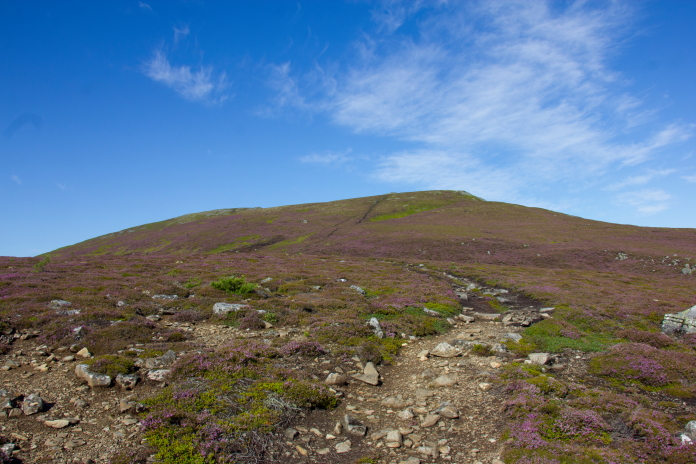
Nice little path to follow up the hill.
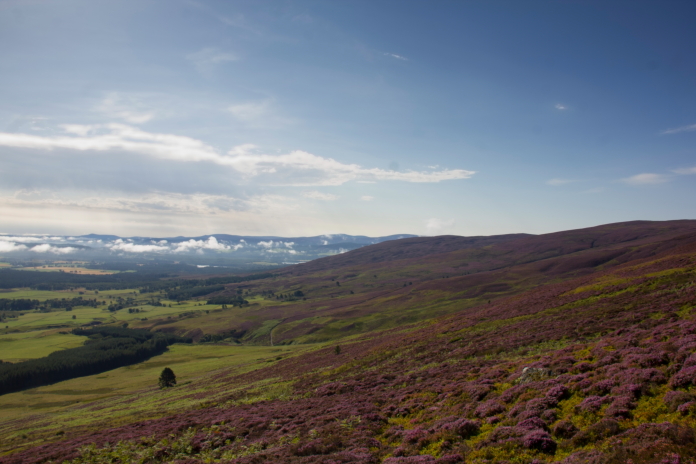
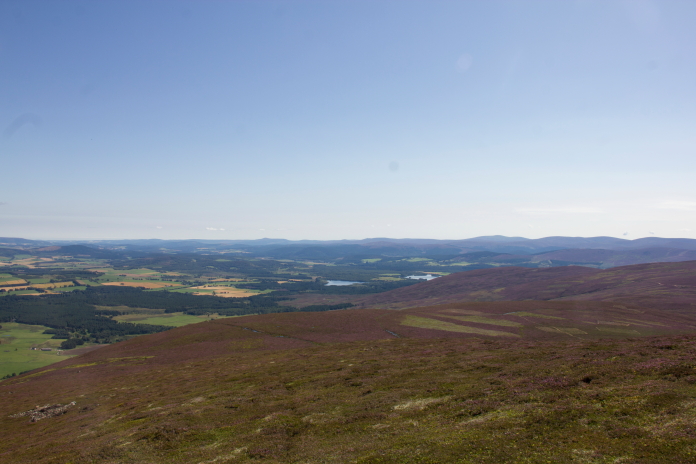
above and below:- A couple of views to the south.
From the ruins at Balhennie it was all steep uppyhilly trudging in the warm sunshine, there was a bit of a respite when a bit of a plateau was reached upon which was a conveniently positioned rock that proved ideal to sit on and enjoy some refreshments. I didn't need to go right to the summit of Morven as once I reached a rocky area know as Little Cairn I had to drop off down the other side a little to reach the crashsite of the Blenheim which was about half a mile from the summit.
Crossing the plateau with Little Cairn visible on the skyline.
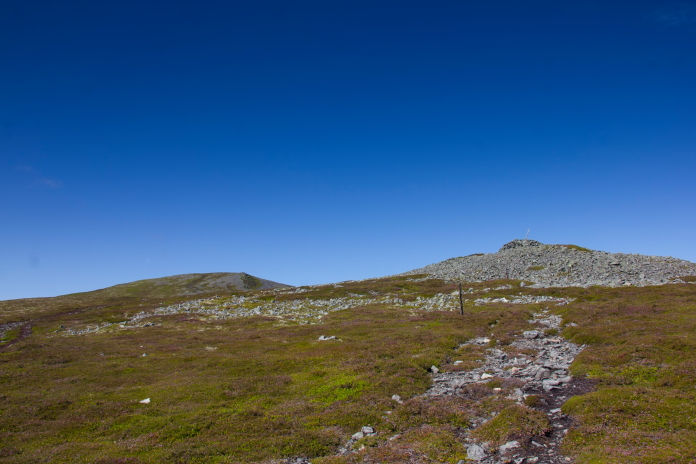
Approaching Little Cairn, in the distance to
the left is another outcrop of rocks known as Mid Cairn and beyond that
but out of view is the summit..
Once I passed Little Cairn I had to start walking down the hill again but on it's northern side to reach the crashsite of the Blenheim, which was very easy to spot once I'd gone over the first drop.

above and below:-Crashsite of Blenheim T1863 on the north eastern flank of Morven.
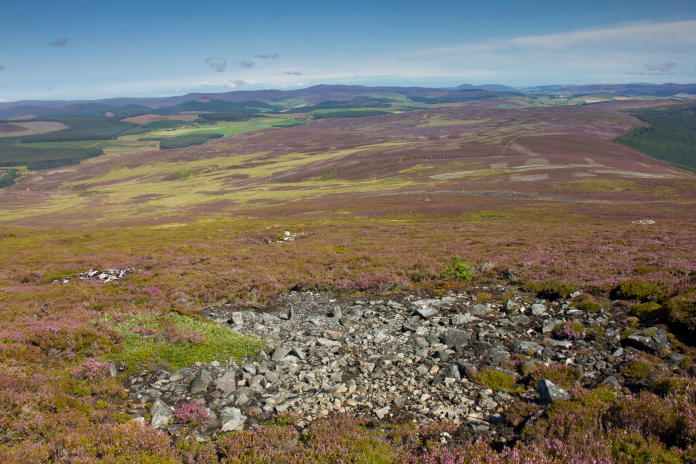
The main burn out scar with other areas of wreckage further down the slope in the background.
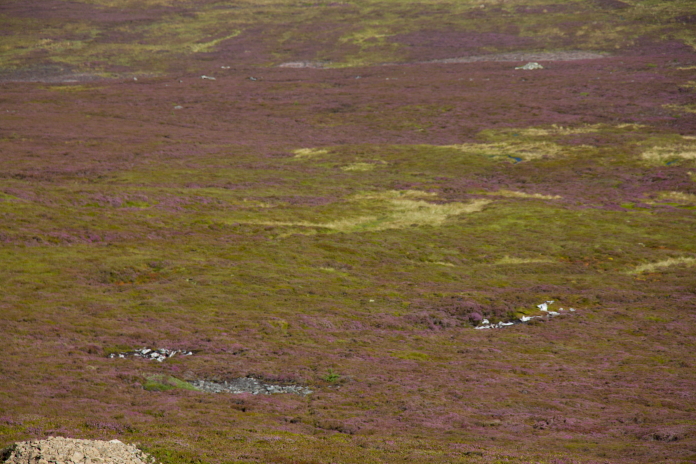
Apart from three main areas of wreckage at this crashsite there were also some pieces scattered around in the heather and a couple of hundred metres to the west there was another scar containing some wreckage at the point where I believe the Blenheim had first collided with the hillside.
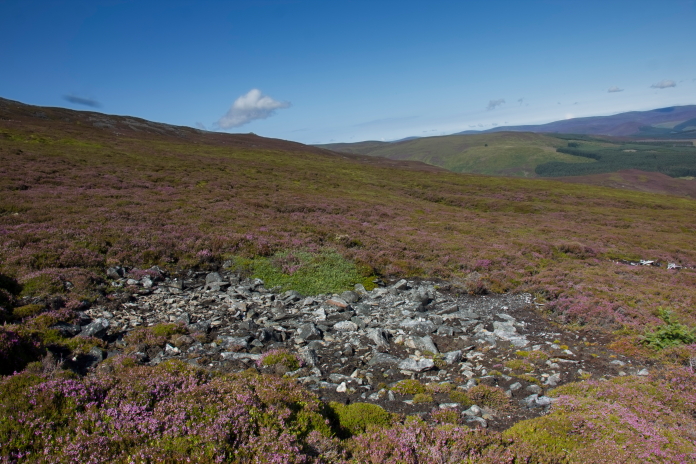
The area where the Blenheim burnt out. The Blenheim flew in towards the camera and first struck the hill a couple of hundred metres from this scar.
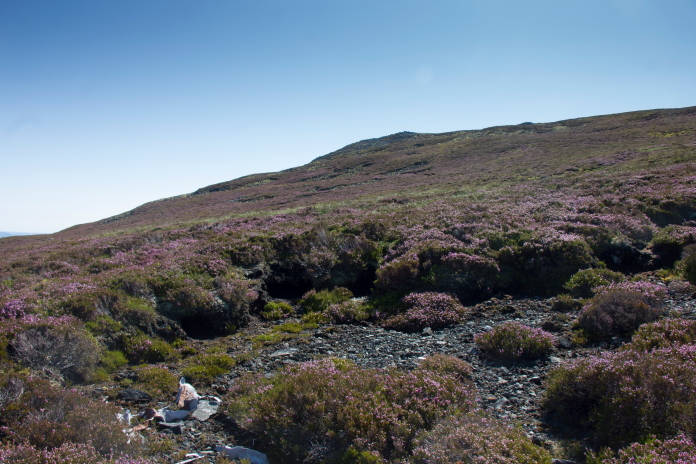 Another scar at the point where the Blenheim first hit the hill,
the main areas of wreckage and the burn out scar are between this scar and Little Cairn
which can be seen in the distance.
Another scar at the point where the Blenheim first hit the hill,
the main areas of wreckage and the burn out scar are between this scar and Little Cairn
which can be seen in the distance.
The position and distance of the other scar in relation to the main collections of wreckage gave a good idea of the direction and speed the Blenheim was travelling when it crashed, information which is lost when someone takes it upon themselves to tidy up a crashsite; as is the case with a number of crashsites in the Peak District for example, where all that remains is a neat little pile of wreckage.
Making my way back around to the path, below
Little Cairn.
I have to be honest and say, I doubt I would have found the impact scar by my own devices as it was a couple of hundred metres away from the rest of the wreckage and well hidden in the heather, but I was in possession of a 10 fig grid reference for it, provided by my scouts, in the shape of Chris and his wife Shona who had been up Morven a few weeks before me and done a very thorough job of scouring the hillside for any remaining wreckage.
Back on the path, approaching the steep bit
on the way down.
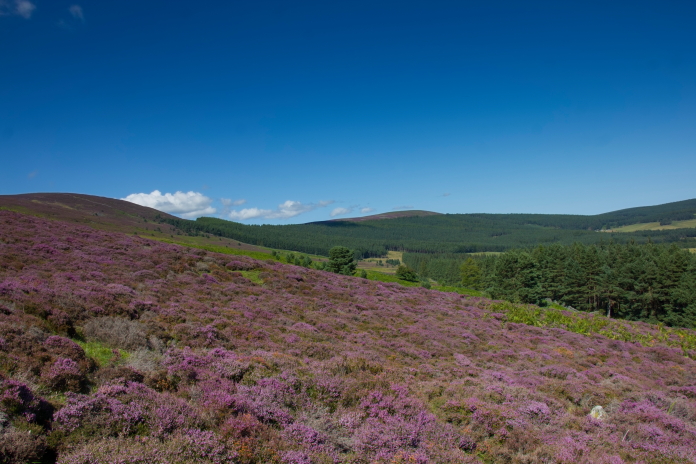
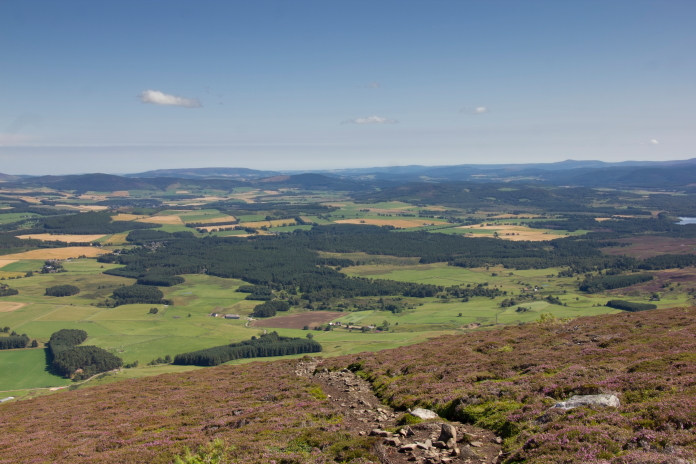
above and below:-Just a nice place to be on such a sunny day!